Dehydrated Fruit Earrings
Author: Wendy Zheng
Photographer: Rhedintza Audryna
If I ever had to pitch one of my interests for a crossover episode of My Strange Addiction and Extreme Couponers, it would feature my obsession for reasonably priced fresh fruit and produce. Nothing excites me more than reading the weekly circulars of Chicago grocery stores and farmers markets and waltzing throughout the produce section, slapping watermelons and sneakily snagging a grape to find the best pick of the day. Furthermore, I’ve always wondered why air fryers and dehydrators are all the rage since it seems like you can easily do everything they do in an oven. Therefore, in order to publicly display my love for produce and test the potential of an oven, here’s my experience trying to make dried fruit earrings.
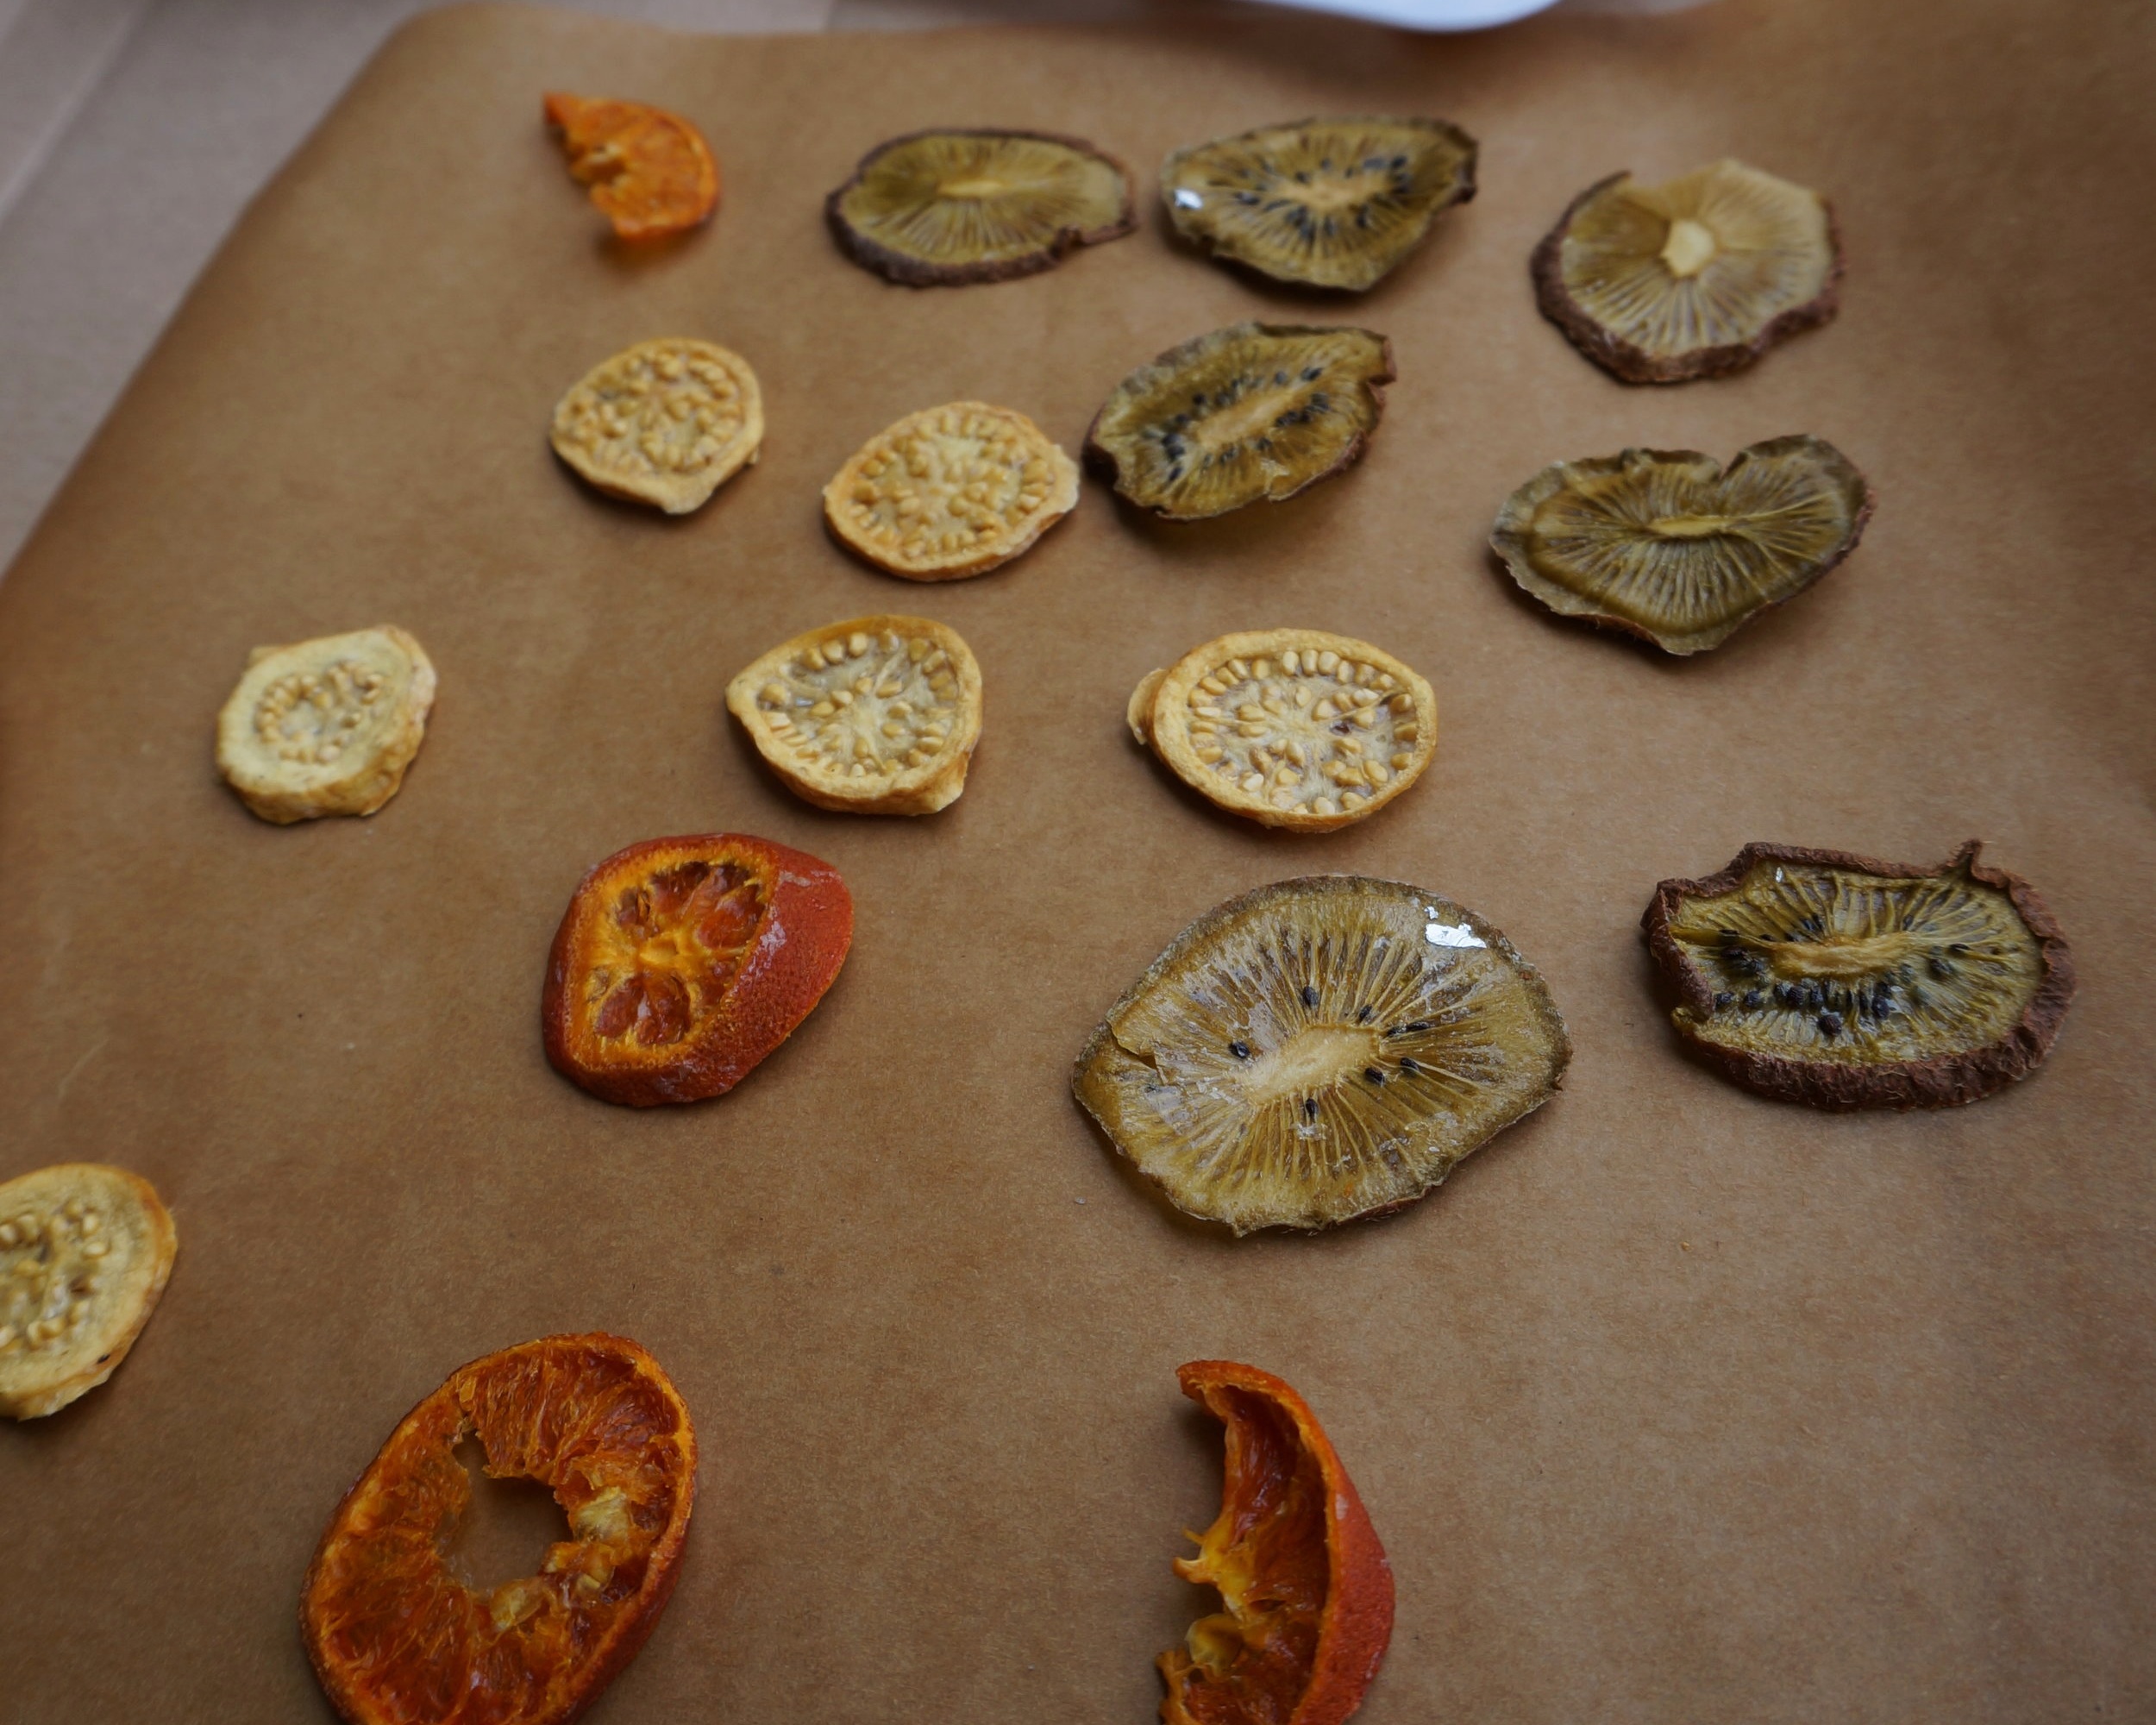
Although you can make dried fruit earrings out of any produce that can be dehydrated (I’ve even seen an onion earring once!), I chose to go with smaller, vibrantly colored fruits (guavas, kiwis, strawberry, clementines, and kumquats) as I thought they would be lightweight enough for my sensitive ears. I first sliced the fruit as thinly as possible and coated them in a boiled mixture of one tablespoon of cornstarch and 100 mL of water. The cornstarch slurry helps the fruit retain its bright color rather than cook to a crisp in the oven. However, since I’ve never made dried fruit before, I couldn’t really tell a difference in the end product, so feel free to skip this step if you want. I then placed the fruit on a foiled sheet pan and into a 200 degree oven for what ended up being around five to six hours. The fruit needs to be completely dried and hardened because if the fruit is not thoroughly dehydrated, the moisture will cause the fruit to rot inside the resin coating. Almost all the fruit turned out surprisingly well! However, the strawberry stuck to the aluminum foil after drying, so I would recommend buying drier fruits as they retain their shape better.
After drying the fruit, I went to Michaels the next day to pick up the earring supplies. However, I was at a complete loss as I mistakenly assumed that making earrings would be intuitive, coming to a complete stand still when confronted with the earring parts selection in Michaels. I spent a good hour frantically pacing and googling “how to make earrings” and “how to use resin” before randomly choosing a random resin kit and curved earring hooks out of sheer frustration. The curved earring hooks were personally the least intimidating earring part since they don’t require pliers or additional parts to shape the wire. However, the shape of the hook is relatively fixed and honestly unideal for hanging a piece of fruit , so choose your poison carefully! Since I didn’t buy any metal rings or anything, I used the ends of the curved earring hooks to poke a hole through the dried fruit for the wire before applying the resin. However, I would recommend making the holes a little larger than the width of the wire as I ended up losing a lot of the holes after I applied the resin.
When I got home, I was confronted with the task of working with resin, which I still don’t really know entirely what it is other than it makes the fruit hard, shiny, and durable. To prepare the resin, you have to mix equal amounts of resin and hardener until they chemically react and turn translucent. To do this, you’re supposed to have a pourable plastic measuring cup and a popsicle stick to stir. However, I ended up using Red Solo cups and a disposable plastic knife, and I think it turned out decent enough.
Once you mix the resin, you’re supposed to either paint or pour it quickly on whatever you want to encase in a clear, plastic-like coating. It’s crucial to move fast during this stage or else the resin will harden and become unusable. Since I didn’t want the earrings to be too heavy, I ended up sponging it on with a foam brush frantically until all of the pieces were covered. I didn’t really know how to avoid the resin sticking to the parchment paper when I had to flip the fruit slices and ended up having little circular blobs of resin on my final product, so pouring the resin or dipping the fruit might be a better option! However, if you try to pour the resin, make sure that you have an appropriate resin mold. I foolishly tried to use a 99 cent paint holder as a vehicle to pour resin on two kumquat slices and was unable to remove the encased slices from the molds. After all the fruit was covered, I waited overnight until the fruit was completely hardened, then shoved the wires through whatever hole I could locate.
In the end, I was pleasantly pleased with this entire endeavor. The final product looked exactly like what I expected it to look like – dried fruit dangling from a wire – and I wasn’t mad. My personal favorites were the clementine and the guavas; however, I genuinely thought they all looked wearable. Although the earrings were a nice plus, my favorite part of the entire process was drying the fruit, and I can definitely see myself trying my hand at oven-drying fruit leather or raw breads in the future! As a final note, the most important things to keep in mind are to be patient when waiting for the fruit and resin to dry and to thoroughly look up how you actually want to put the fruit on the earring before committing to the task at hand. However, at the end of the day, you’ll either have groovy earrings or tasty dried fruit, so I would definitely recommend this as a weekend project worth trying!


