
A Beginner's Guide to Homemade Soup Stock
Lucas Wang
A couple years ago, I was at Whole Foods buying meat when I remembered that I needed chicken stock. I try to keep my purchases at Whole Foods as minimal as possible, but alas, too lazy to make another stop at Trader Joe’s, I sucked it up and paid $7 for a carton of chicken stock. A few days later, when I opened it to make risotto, I tasted it before using it. I should not have been so optimistic: it was twice the price and easily a fraction of the flavor of my usual TJ stock. This carton made it all come together: most store-bought stock might as well be dyed, salted water. How could I let myself make such bland risotto knowing this?
I’d always assumed making stock was a massive, not-worth-the-time effort. My outrage over the flavorless store-bought stock led me to quickly find out that this is very much not the case. And, once I actually tried making it, I could confirm this fact. For my first attempt at homemade stock ever, I kept all the bones after an outing to Harold’s (I was too cheap to find bones another way), cleaned the batter off, and boiled them for a day. The result was delicious—everything I made with it burst with rich flavor. That risotto? Slapped. As delicious as my vat of Harold’s stock was, the stock can surely be leveled up, as I’ll show you how to do. It can also be adapted for any type of meat, and different meats can be mixed and matched.
Last week, I made some short rib tortellini (recipe coming soon, perhaps), and I had a steak night with some friends. As such, my beef bone bag was getting full. As a stock enthusiast, I keep a bag of bones for chicken, beef, clam and mussel shells, and fish (I’ll cover seafood stocks another time). I also keep bags of meat trimmings, mostly fat. Whenever one bag starts getting full, I make a new pot of stock. The cycle lines up pretty well with how often I need new stock and how quickly I eat meat. The beauty of this system also lets me mix and match meats to suit a recipe or just experiment for fun.
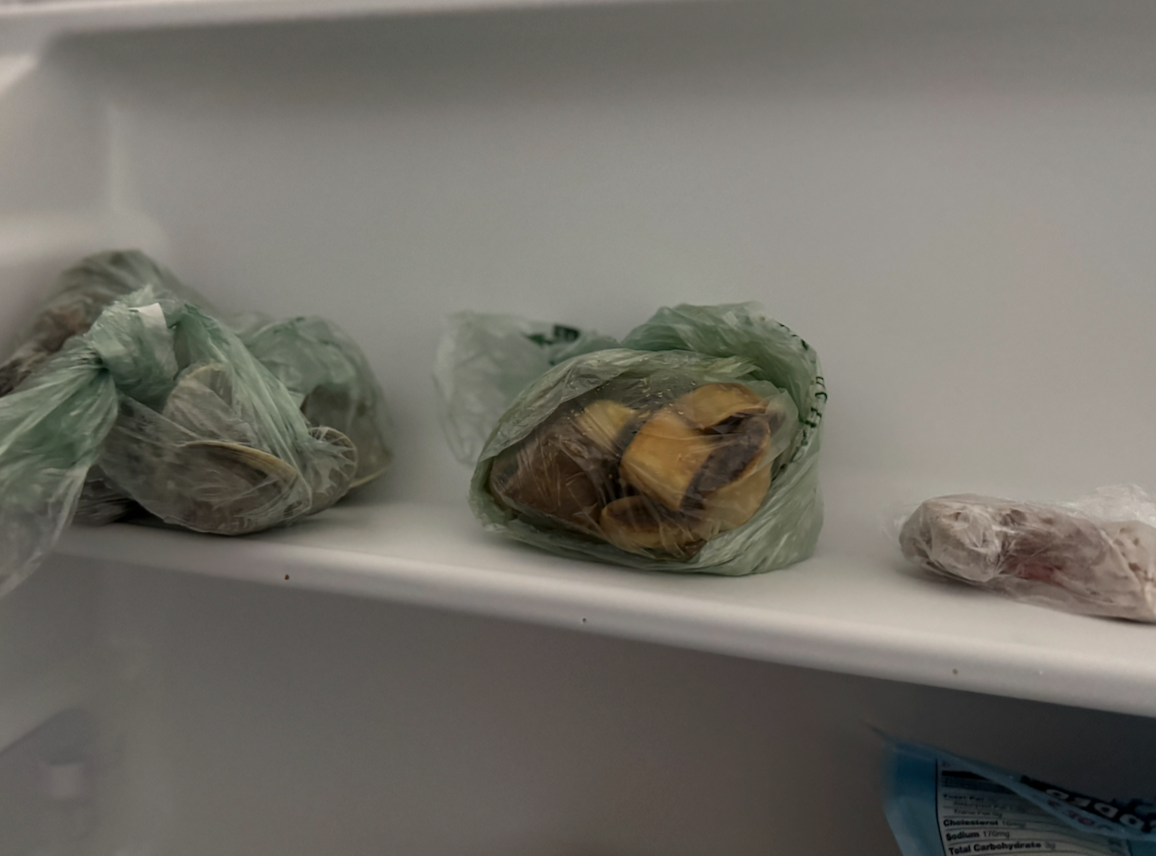
From left to right: clam shells, short rib bones, chicken bones.
For stock recipes, the crucial step is the browning or roasting of the bones. These actions caramelize the surface of the bones and meat, deepening the stock’s body. For example, the short ribs and ribeye bones were seared for the beef stock I made for this article. With beef and pork, since the bone is exposed during cooking in almost every cut where it is kept, leftover beef and pork bones from almost any dish can be made into stock as they are. On the other hand, the opposite is true with chicken. When using chicken bones, be sure to roast them before boiling them. For even more flavor, I keep fat trimmings. All that chicken skin everyone seems to be afraid of? Here’s where that comes in. Rendering some of that fat will add to the stock’s flavor.
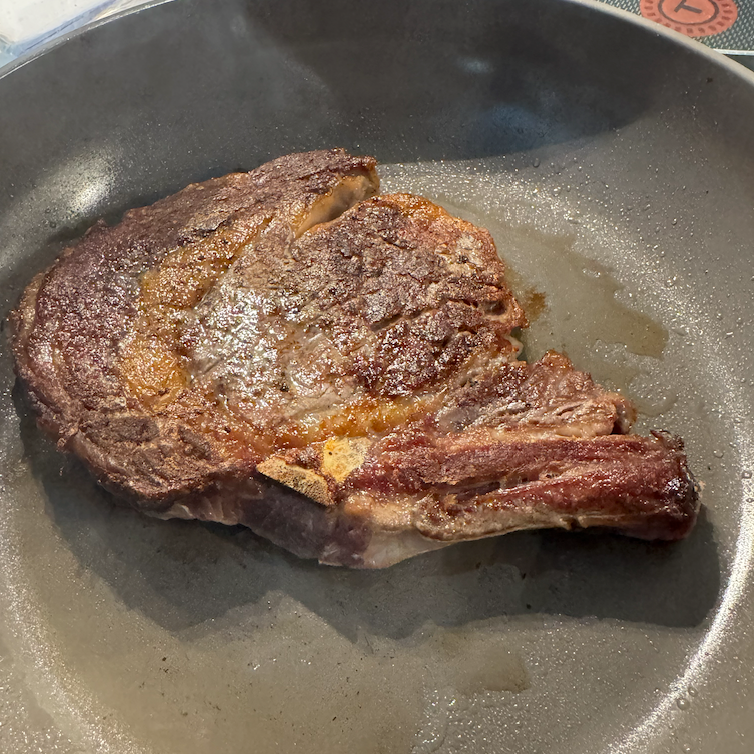
Browned meat
On a last note, all good stocks are vegetable-based. A vegetable stock base is created simply by boiling a pot of vegetables. All good stocks use this vegetable base to add even more depth to the flavor. Anyway, enough of me talking, let’s make stock.

The recipe:
Ingredients:
1 cup bones and/or shells
3 quarts water
Meat trimmings (optional)
1 small onion or large shallot
3 stalks celery
3 carrots
Parsley, sage, rosemary, thyme, or peppercorns to flavor (optional)
Steps:
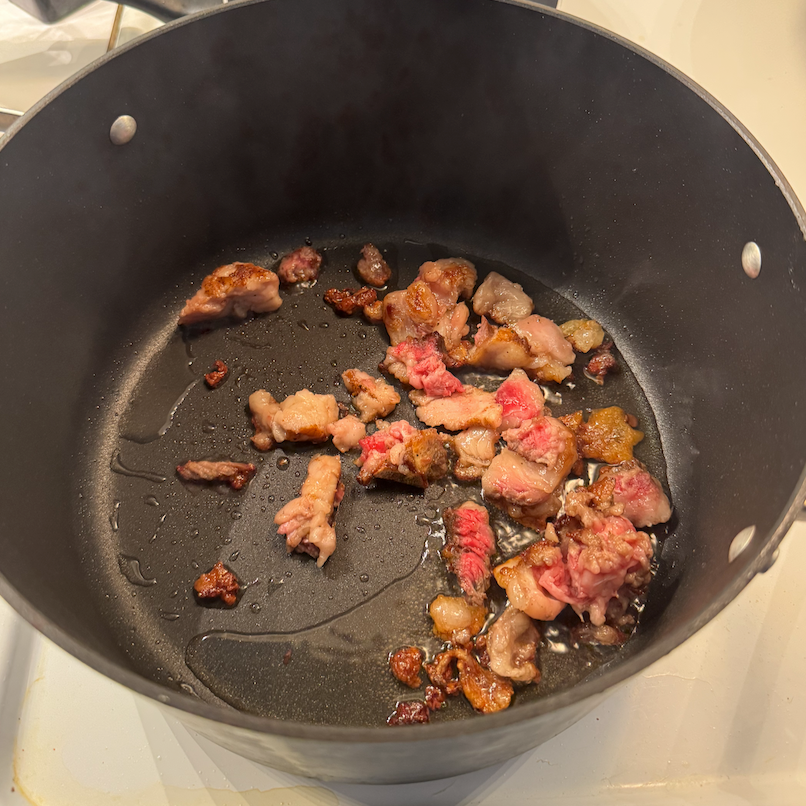
1. If using trimmings, first sauté on medium heat at the bottom of a large pot to render fat. Once the bottom of the pot is covered in a thin layer of fat, remove the trimmings. These can be saved for later batches. Add the bones and coat them with the drippings.
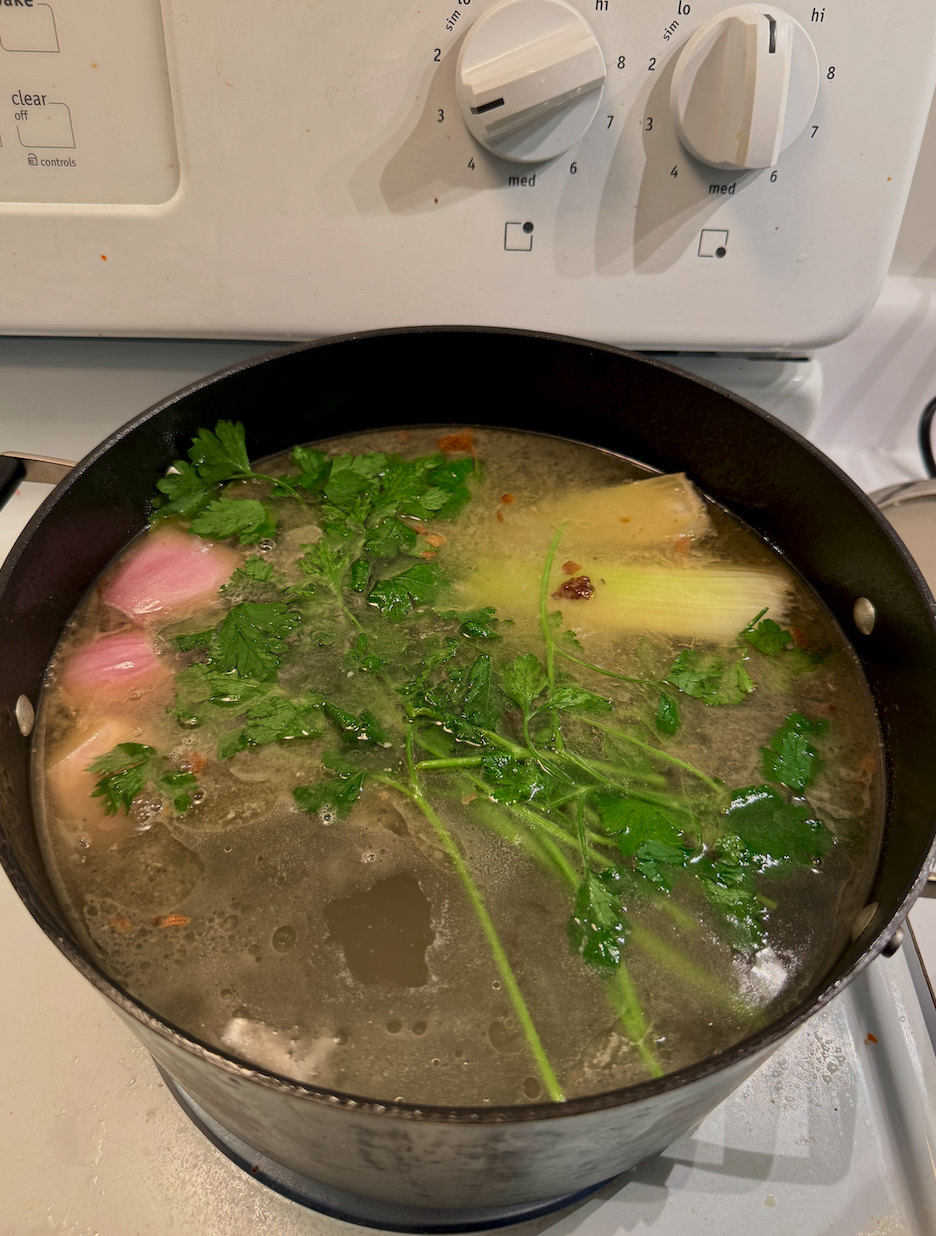
2. Add water to the pot and bring to a boil, then reduce to a simmer. Add the vegetables and herbs. Cover and let simmer for 1 hour.
3. After an hour, remove the vegetables and herbs. Continue simmering the bones until the desired strength of flavor is achieved (taste the stock periodically).
To get full value out of my bones, I usually boil them until they almost completely dissolve, which takes around 16 hours. If you don’t want your stock that strong, take it off the heat whenever you think it’s ready. Most people call it around 6 hours.
As you can see, homemade stock doesn’t require a whole lot of active effort. If you’re an ally of flavor, I implore you to make your own stock.