
Pear-Stuffed Challah
Author and Photographer: Jason Frey

Back in September, I made apple-stuffed round challah for Rosh HaShana. It was a hit, and I thought, “what else might be good to stuff a challah with?” Since pears are in season and I feel that they are a particularly underutilized fruit in baked goods, I figured that a pear-stuffed challah recipe would be delicious. But to add a little complexity, I combined the sweet pear with thyme, orange zest, and rosemary to make a savory loaf with layers of flavor. This recipe produces a pliable, moist dough filled with citrusy brightness.
I will say, however, this recipe is not a quick one. You will need about 5 hours all said and done, so if you would like to make 3-strand challahs instead of 6-strand ones to expedite the process, feel free (although a 6-strand braided challah is absolutely beautiful). And if this is your first time making challah, it might help to practice forming one without filling the strands—you could even halve the filling recipe if you would like to have one plain and one stuffed loaf. Happy cooking!
Ingredients:
¼ oz. active dry yeast
~5–6 cups AP flour
¾–1 cup honey
2 tsp. salt
2.5 tsp. vanilla extract
1 whole egg and 3 egg yolks for the dough, and 1 for the egg wash
2 tbsp. vegetable oil (could sub. for butter) + a little for bowl when rising
¼ cup lukewarm water + 1 teaspoon sugar to activate yeast
1 ¼ cup lukewarm water for dough
4 (bartlett) pears
Zest of 3 big or 4 medium oranges
Cold water with ⅛ teaspoon salt for keeping pear crisp, 1 tbsp. sugar after pear is dry
Big handful of thyme sprigs
(optional) 3 sprigs of rosemary
1 tsp. water and a pinch of salt for egg wash
Equipment:
¼ cup measure
1 cup measure
Teaspoon
Tablespoon
Bench scraper
Wooden spoon
Instructions:
Dough
In a big bowl, pour ¼ cup lukewarm water in with a packet of yeast and a teaspoon of granulated sugar. Whisk together and let sit for 10 minutes until it foams (to ensure that the yeast is alive).
Add the remaining 1 ¼ cup lukewarm water, honey, vanilla, egg and egg yolks, and vegetable oil. Whisk together until combined.
Start adding flour to the liquid mixture in half cups, stirring with a wooden spoon in between each addition until it is too thick to stir. At that point, start to knead with your hands. After the third cup of flour has been combined, add in 2 teaspoons of salt and mix in.
Keep adding flour and kneading until the dough feels more elastic (not sticky) and has formed into a ball which slightly bounces back if you stick your finger gently into it.

Pre-Rise
5. Lightly oil a large bowl and coat all surfaces of the dough ball with the oil that is in the bowl. Cover with a damp towel.
6. Boil a small pot of water, and once it is boiling, take it off heat and place in the bottom rack of the oven with the bowl of dough on the rack above it. Close the oven door and let the dough rise for an hour. Do not turn on the oven while the dough is rising.
7. After an hour, take the dough out of the oven, punch it down, re-boil the water, and replace the bowl (with the towel on top) and pot of water in the oven. Let the dough rise for another hour.

Post-Rise
Filling
While the dough is on its first rise, start preparing the ingredients for the filling. Rinse and dry the pears, oranges, thyme, and (optional) rosemary.
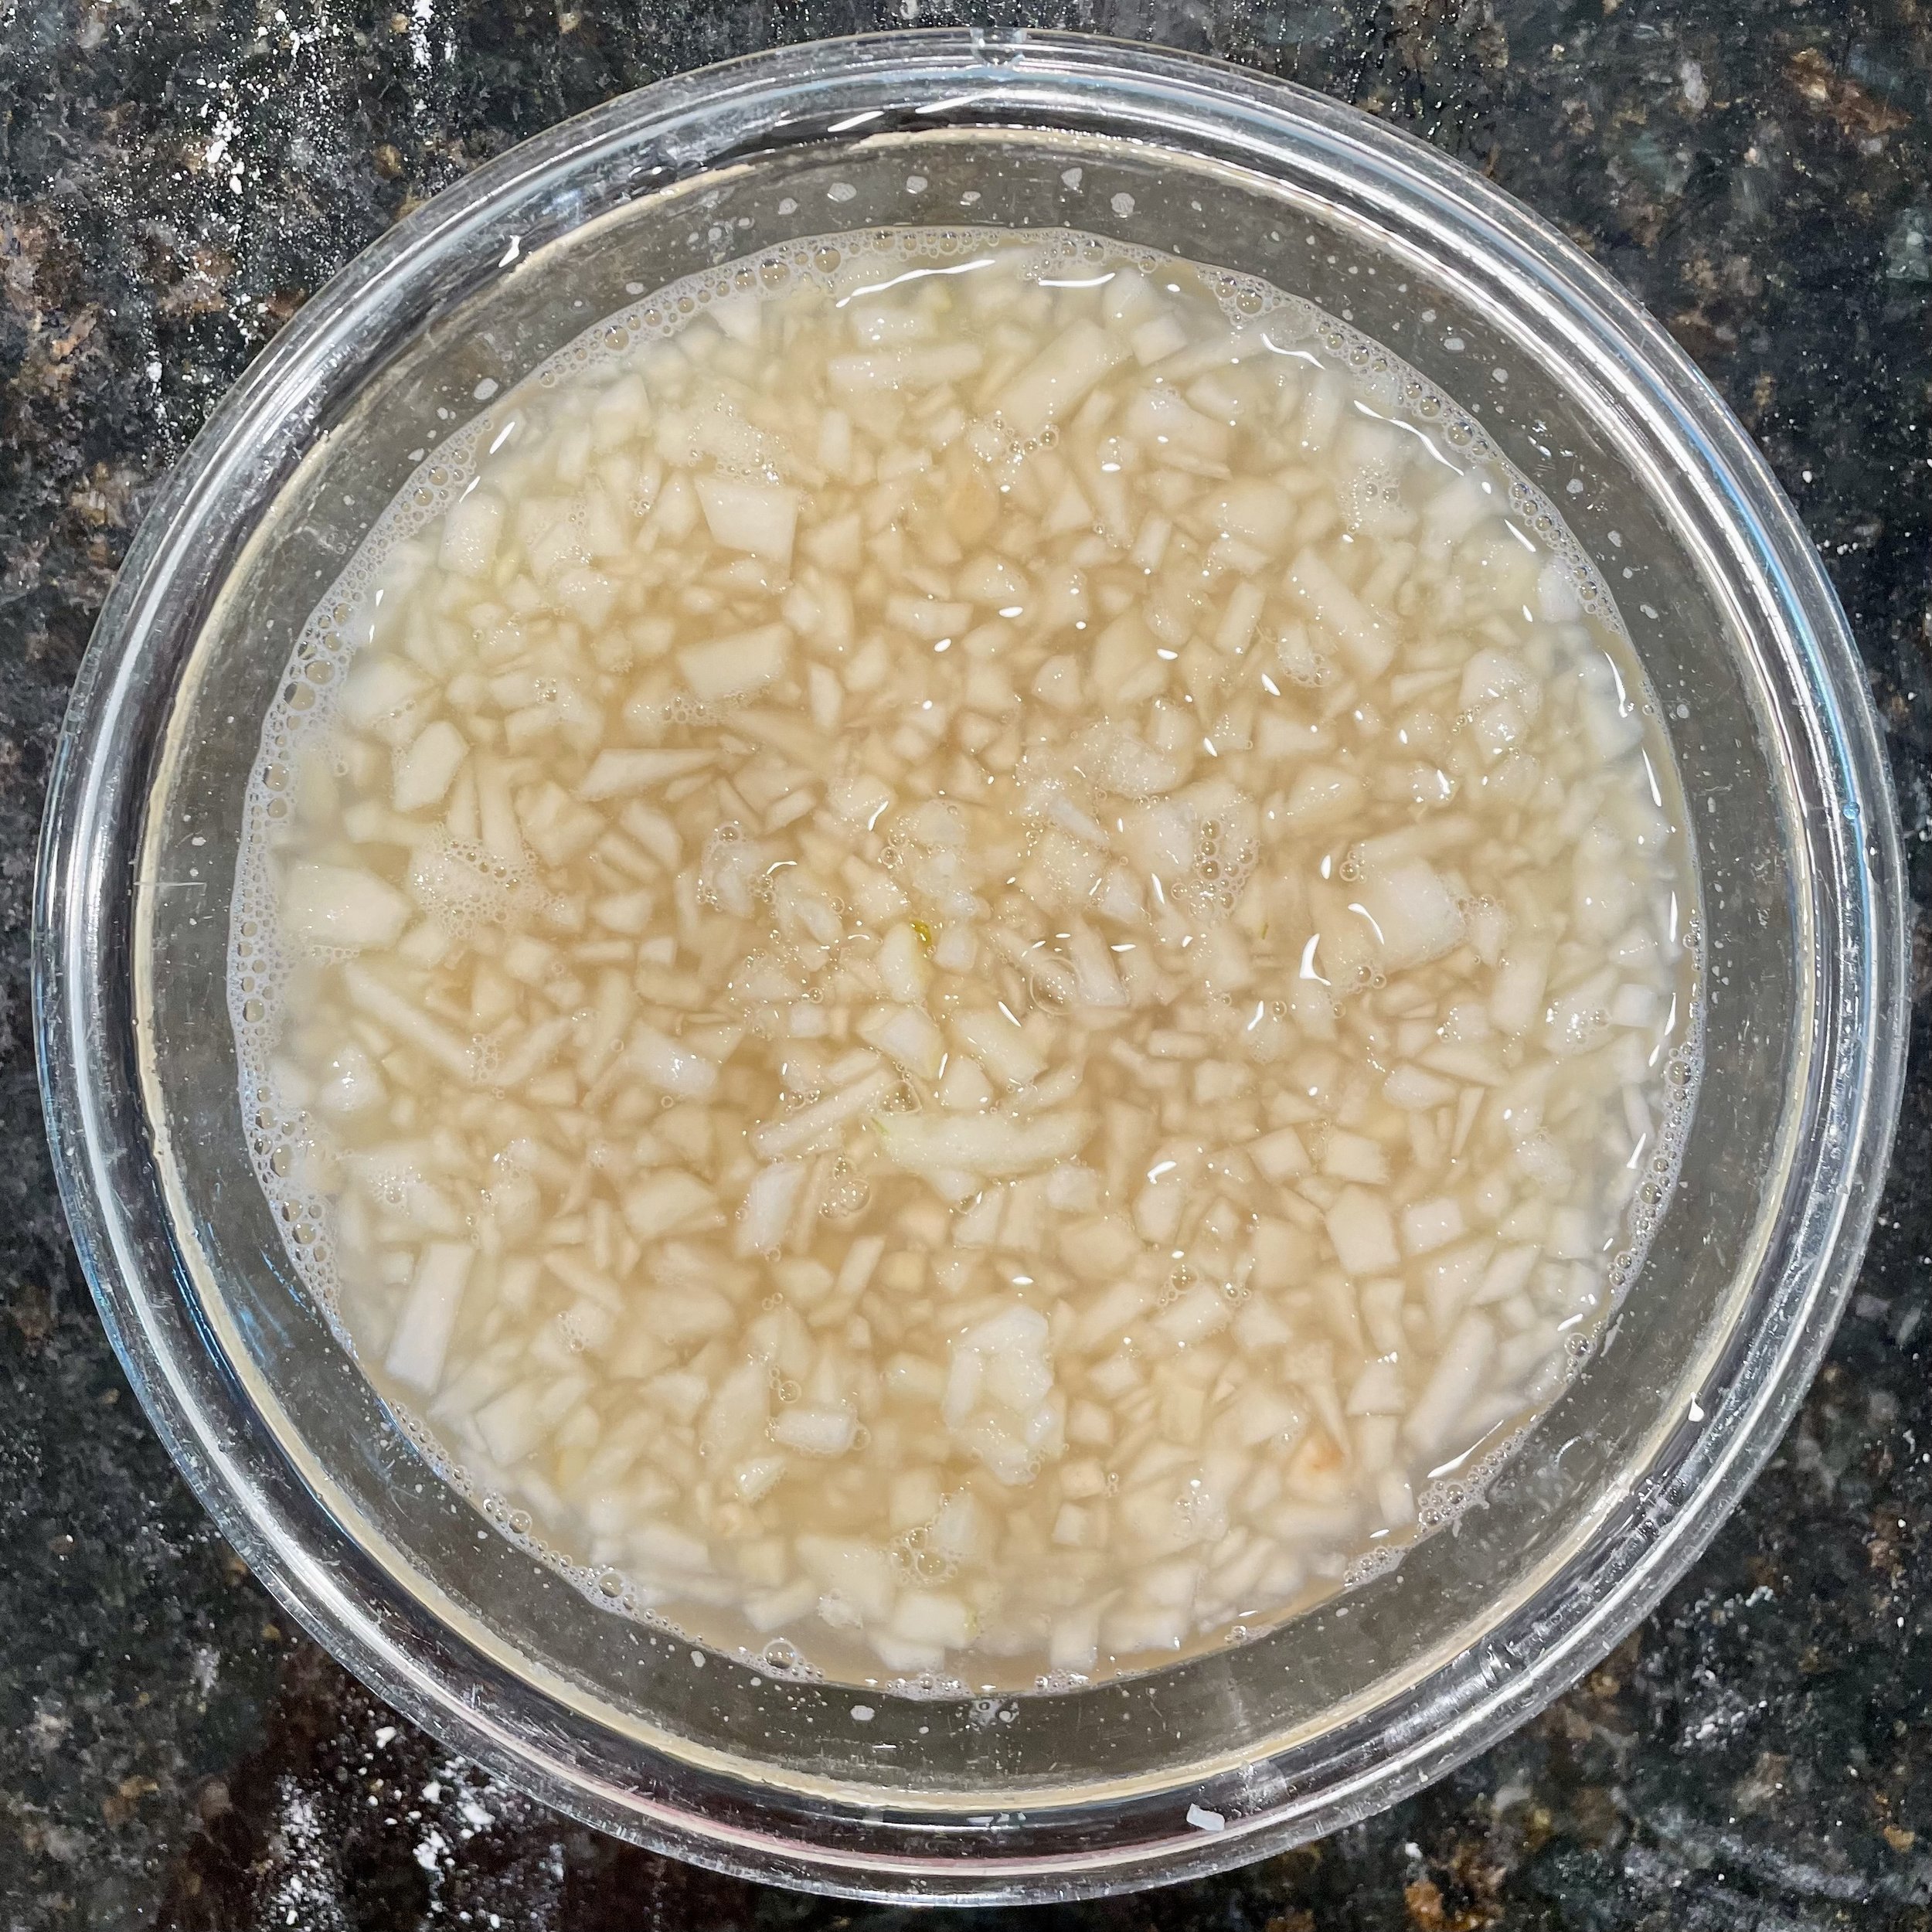
Peel the pears and dice them into very small cubes. Place them in a bowl of cold water with ⅛ teaspoon of salt to keep them crisp and prevent browning.
Float
3. Zest all the oranges. If the zest is at all bitter, feel free to add a little sugar.
4. Pick the leaves of the herbs off the stems and chop very finely. If using rosemary, keep it separate from the thyme because you will want to use slightly less in the filling than the thyme, as it has a stronger flavor.
5. When the dough is ready to be formed, drain and dry the pears very well. Then, add 1 tablespoon of sugar to the cut pears and mix in.
Forming the Challah:
Instructions
Take the dough out of the oven, punch it down again, and turn it onto your work surface dusted with flour. First, separate the dough ball into two even pieces. I use a kitchen scale for this and the following steps, but feel free to eyeball. Each individual piece will form a loaf of challah. Any time that you are not working with any of the dough, keep it covered under plastic wrap or a damp towel.
Working with the dough that will form the first loaf, separate it into six even pieces.
Roll each piece out into long, fairly thin rectangles of about 14–16 inches in length and a few inches in width.
Lay the herbs down the middle of each strip. Then, add the orange zest. Finally, add the pears. Add as much of each as you would like, but make sure to keep track of how much you are adding to each strip so that you have equal filling for every piece of dough (and enough for the other loaf of bread).

Stuffing
5. Once all the strips are stuffed, squeeze the edges of the strips together so that you end up with six long ropes.
6. Start the braiding process.
Six-Strand Braid
This process can be fairly difficult, so feel free to look up a video tutorial. I will do my best to explain one “round” of braiding so you can repeat the steps for the rest of the challah.
Combine the six ropes together at one end. Stick them all together and give them a little twist so they combine well.

Braid 1
2. Separate the six ropes into four “groups”: (1) the first strand at the top right; (2) the two strands underneath it on the right side; (3) the two bottom strands on the left; (4) the single strand on the top left. I am going to be referring to each strand with a separate label number, starting with 1 at the top right and increasing clockwise, ending at 6 with the top left.
3. Take rope 1 and cross it over horizontally to become group (4). Take rope 6 and cross it over to become group (1).

Braid 2
4. Bring group (4), strand number 6, down to the bottom of group (2). It should be in the middle of groups (2) and (3) but grouped with (2).

Braid 3
5. Bring the top rope of group (2), strand number 2, to become group (4). After this step, you should once again have only two strands in group (2). In general, a step that unbalances a group, i.e. adding or subtracting a strand from a group, will always be followed by a step that rebalances that group. Here, subtracting a a strand from group (4) in step 4. is followed by rebalancing that group by adding a strand from group (2) to group (4).

Braid 4
6. Bring group (1) down to be in the middle of groups (2) and (3) but grouped with (3).

Braid 5
7. Bring the top rope of group (3) to become group (1).
8. Repeat these steps until the challah is completely braided. As you continue down the loaf, start to add some tension to the ropes so they get a little tighter. In general, you always want to bring the top strand (either the one in group (1) or (4), depending on which one is at the top) down to the bottom group on the opposite side (either group (2) or (3)), and then replace that top strand with the top rope of the group you have just added to.

Braid Final
9. Repeat the challah forming process for the other loaf.
Baking the Challah:
Line a sheet pan with parchment. Place the loaves on the pan once they are braided and cover with a damp towel or plastic wrap. Let rise for another 30–45 minutes.
Preheat the oven to 350 degrees.
Prepare the egg wash.
When the dough has completed its final rise, brush completely with the egg wash and place in the oven.
After 20 minutes, take the loaves out and brush them once more with the egg wash.
The loaves will need to cook for another 10–20 minutes. Once you have reached the desired level of brownness, tent with foil until the dough has completely cooked through. It is alright to have a tiny bit of wetness on the knife as you check the dough, but only due to residual pear juice.
Once done, remove and let cool.

Baked Challah
There you have it! You are on your way to becoming an expert challah baker (and I am on the journey with you). I like to eat my challah by either microwaving or toasting it and spreading some soft butter on top. This recipe could also probably benefit from a fruit preserve or lemon curd if you feel like it. Typically, challah is eaten for Shabbat (the Jewish sabbath, observed on Friday nights and Saturdays), but I like to have a loaf around at all times. I hope that you enjoy this recipe, and if you want to switch it up for next time, you can use the same process as described above but choose a different filling or leave it plain. For inspiration, I also tested a Bosc pear, cinnamon, and clove filling that was sweet with slightly nutty undertones. Enjoy!