
Grandma's Indispensable Kimchi Recipe
Author & Photographer: Alyce Oh
Although I grew up with the notion that my grandmother made the best kimchi ever (it really, truly is—trust me), it never struck me that I should observe and practice her methods. What need was there, when there were video tutorials and blog posts galore that provided every possible adaptation of kimchi you could think of? If I ever wanted to make kimchi, I could surely follow a reputable-looking recipe and it should be just as good as any other, right? Or so I thought.

One afternoon in Chicago, a bad craving for kimchi and desire to put off working on a paper led me to scour the internet for a kimchi recipe— a white kimchi recipe to be exact. White kimchi has all the sour tang of “normal kimchi” but without any of the spice, and instead of a red broth, it ferments in an oniony, gingery one sweetened with apples and Korean pear. In other words, it’s delicious. Before I started looking for a recipe online, I thought I should ask my grandma for some pointers. I shot her a text (apparently my grandma is really tech-savvy now??) letting her know I was going to make white kimchi. She responded by telling me that she was also about to make a batch of kimchi and that I shouldn’t bother making my own since— as per our well-established system— she and my mom would be sending some over to my apartment via air-mail.


I was very grateful but still didn’t want to write my paper. So, I thanked her, hung up, and decided to take my chances with one of the first few recipes that popped up following a Google search. Fast forward a couple of days later and I’m standing before a cutting board with two different batches of white kimchi before me-- one made by yours truly, the other by my grandmother. Already by sight and smell, I could tell who the real winner was. My kimchi was essentially raw cabbage-- undersalted, under fermented, just plain sad-- while my grandma’s had a pungent tang that hit your nose before you even opened the container. (Actually, I could even smell it through the box that the whole thing came packaged in. If that’s not true kimchi goals, I don’t know what is).


After a confirmative taste-test, I picked up my phone and asked my grandma for her secret. Turns out, I had missed the 풀, or--directly translated into English-- “glue.” It might sound strange and borderline gross, but 풀 is essentially a paste made of rice flour and water that’s briefly cooked on the stove, then cooled before adding into the kimchi. Think of it as the kimchi-equivalent of a sourdough starter. The starches in the rice give something for the bacteria to feed on, ensuring a foolproof and delicious fermentation. When you’re in a pinch and don’t have rice flour on hand, some cooked, leftover rice in a blender with some water works too (I know, it’s crazy, but it totally works).
When I came back home a few weeks ago and saw that my grandma was salting a mound of cabbages to make red kimchi, I immediately ran to her side and began snapping photos and asking questions. Through all her pinches of this and glugs of that, it was made clear that the nuances of making something as fickle as kimchi can’t be perfectly encapsulated in precise measurements or clinical instruction. You can try to wrangle the making of kimchi into a recipe, but experience and intuition will ultimately reign supreme.
However, if you don’t have the expertise of a Korean grandma in your own home, not to despair. Below I have provided as detailed and close a transcription as possible of my grandma’s instructions. Adapt it as you’d like, as even my grandma never makes kimchi the same way twice— a little more of red pepper flakes one day, some more of fish sauce another. This is simply a great foundational guide from which to build. And if you have a family recipe of your own that you’ve always been meaning to learn to make but haven’t because of the comfort of the internet, now’s a great time to get on it. I assure you it probably won’t be the same coming from somewhere else.

Note: My grandma’s “recipe” has been scaled down to be made with 2 napa cabbages instead of her usual 5.
Ingredients:
2 medium-sized napa cabbages
1 1/2 cups coarse sea salt
1 large yellow or white onion
4- inch piece of ginger
7 cloves of garlic
1/3 cup of rice flour or 1/4 cup cooked rice (white or brown)
3/4 cup Korean red pepper flakes (gochugaru), or according to desired spice level
3 tbsp fish sauce
Half of a medium daikon, julienned
1 bunch of green onion, cut into 1 inch pieces
salt to taste
sugar to taste
Instructions:
Fill a large basin with lukewarm water and stir in about 3/4 cup of coarse salt.
Cut napa cabbages in half lengthwise and soak in salt water for 5 minutes to clean and prime the cabbages.
Remove the napa cabbage from the water and wring out excess water. Remove water from the basin. Take the remaining coarse salt and sprinkle into the core of each piece of cabbage, in between each layer. Place the salted cabbage into the same basin, cut side down. Place a heavy pot on top of the cabbage to weigh it down.
Allow the cabbage to sit for two hours, then flip them over so the cut side is up. Weigh it back down, and let it sit for an additional two hours, or until the cabbage is soft and wilted. There may be some water at the bottom of the basin— that’s perfectly fine.
Rinse each piece of cabbage twice to get rid of salt, and wring out excess water.
Place onion, ginger, and garlic into a blender and process until smooth. Set aside.
If using rice flour, place into a small pot along with one cup of water and cook for 3-5 minutes on medium heat, stirring frequently. When the mixture becomes thick enough to coat the back of a spoon, remove from the heat and let cool to room temperature. If using cooked rice, place into a blender along with one cup of water and blend until smooth.
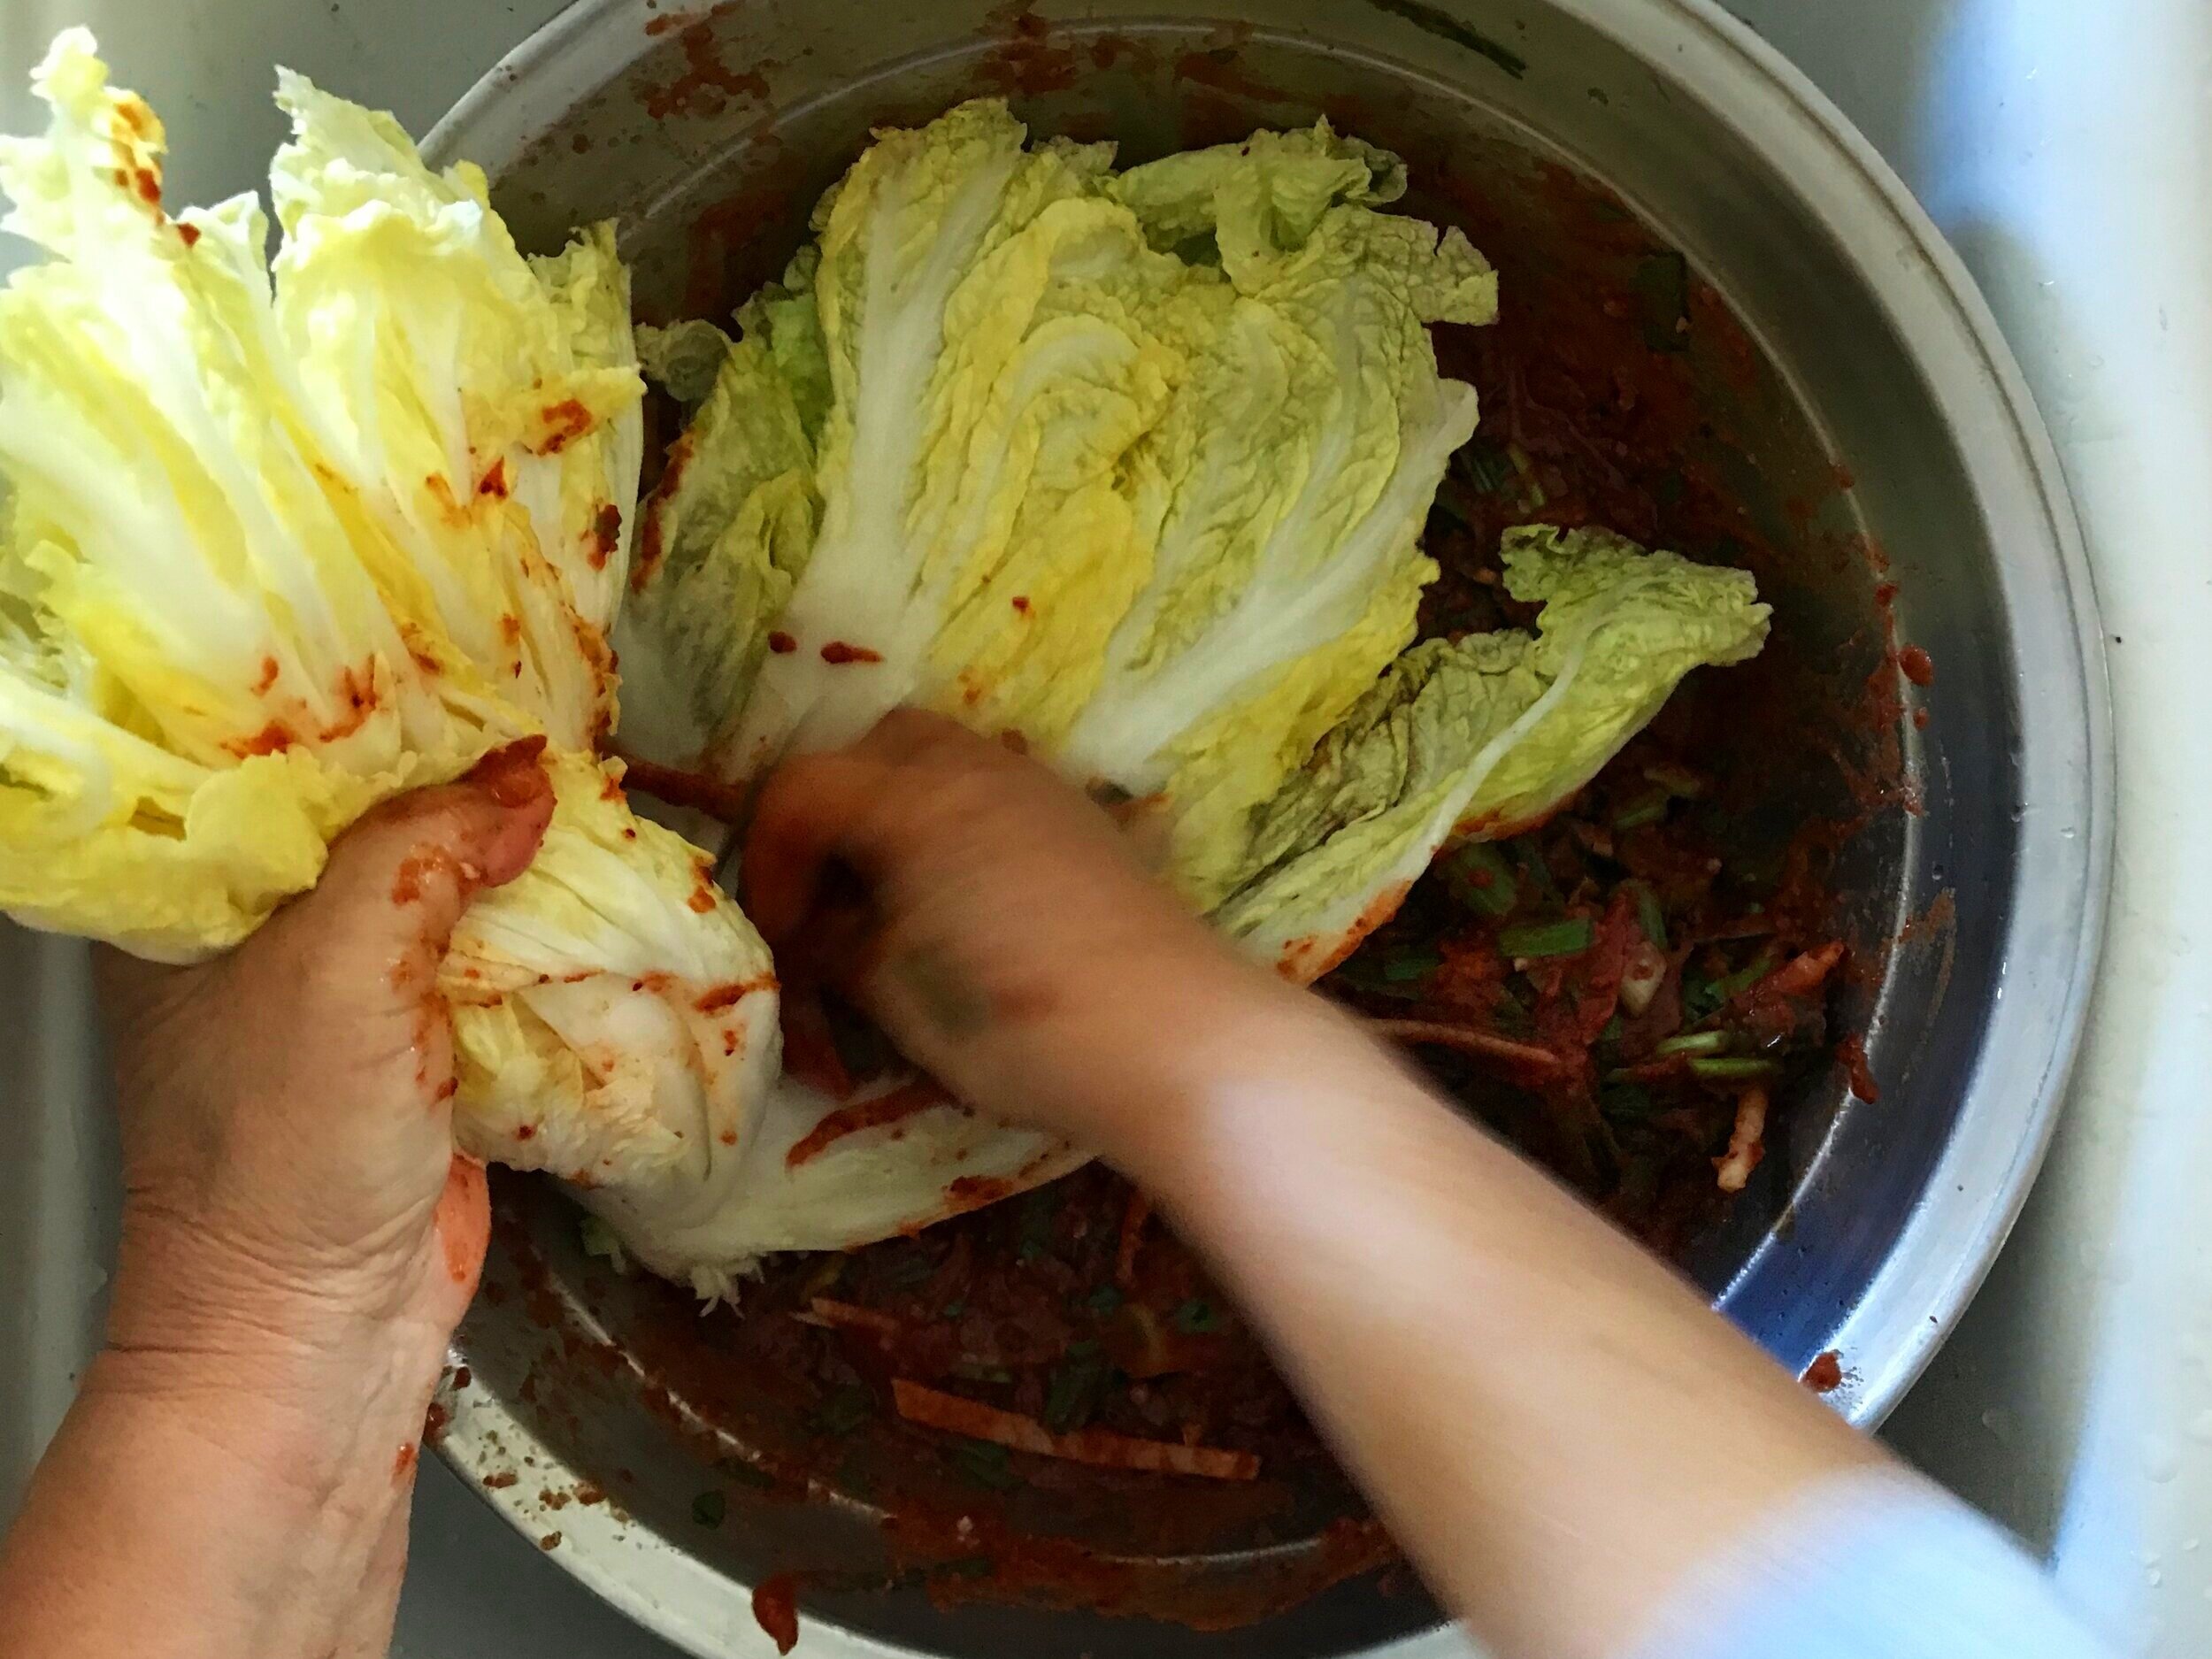
To the rice flour mixture, add red pepper flakes, fish sauce, daikon, green onion, sugar and salt. Mix it up, and apply to the core of each piece of cabbage, in between each layer.
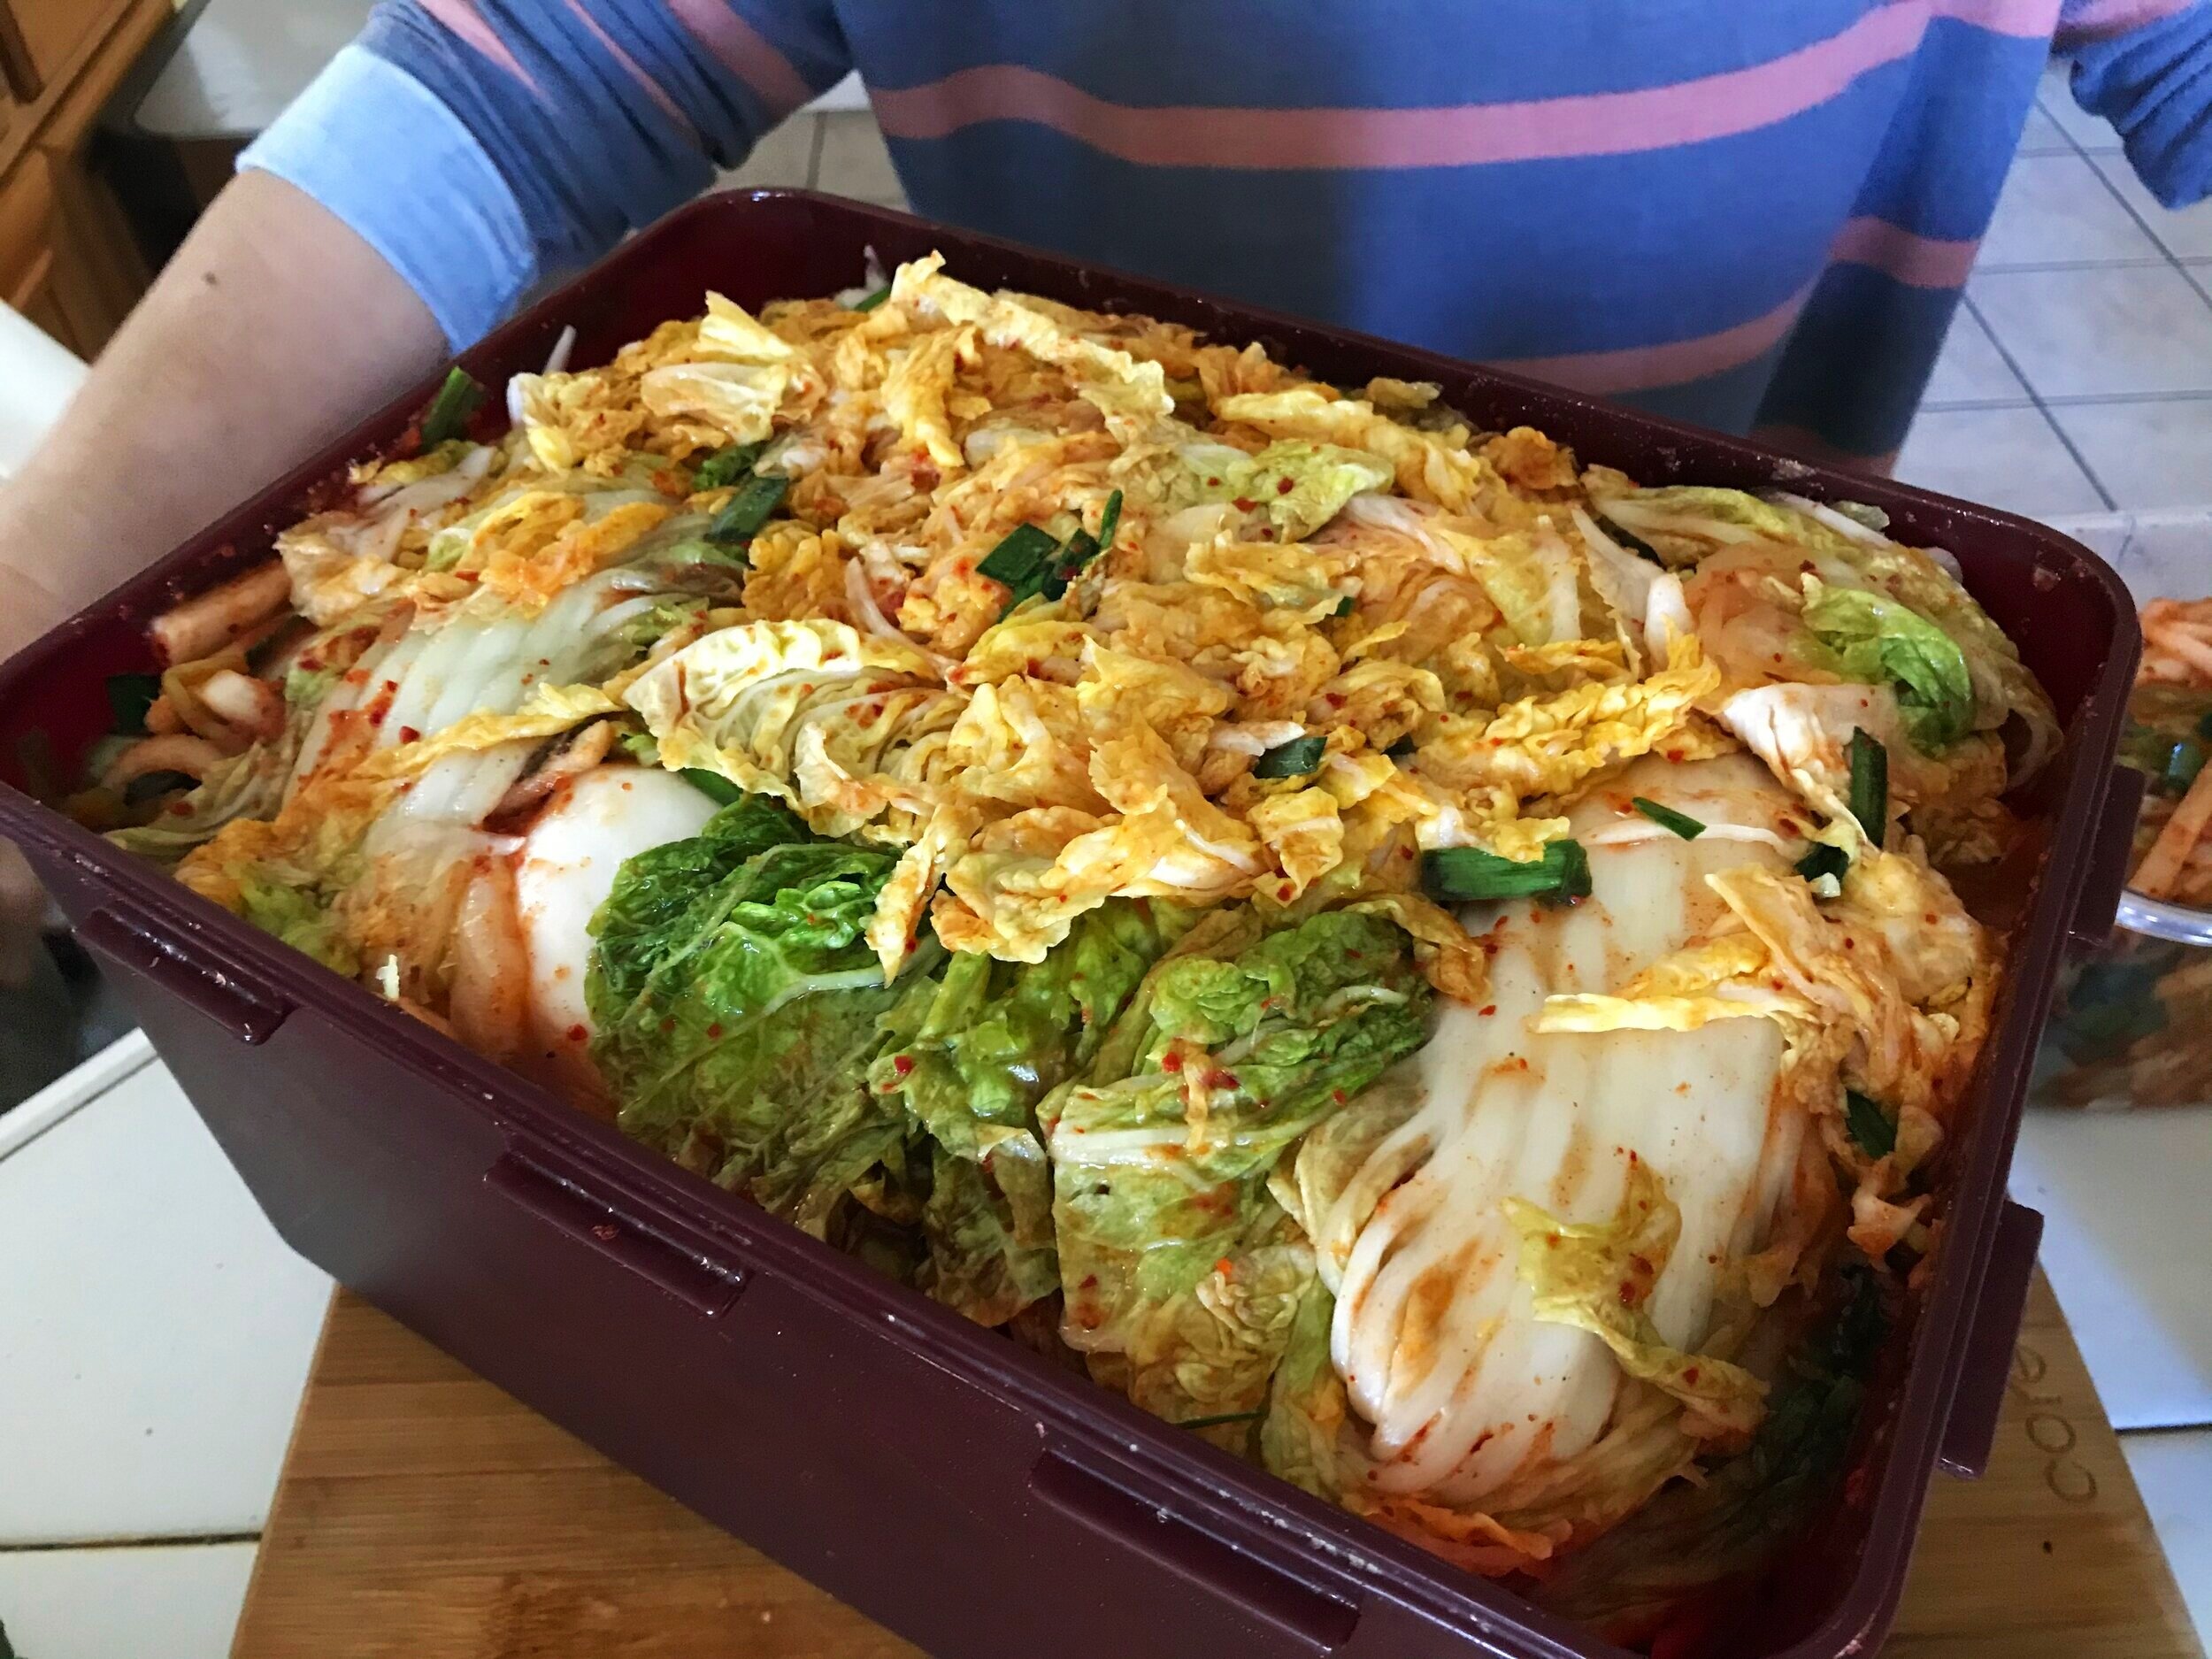
Pack the cabbage pieces into a Tupperware or glass container, packing tightly. Place the lid on, and let it sit at room temperature for 24 hours, or if your kitchen is warm, let it sit for 12 hours. After the 12-24 hour period, place the container into the fridge to allow it to ferment for at least another 3-4 days. The kimchi can last for months at a cool temperature and will continue to become increasingly more flavorful.
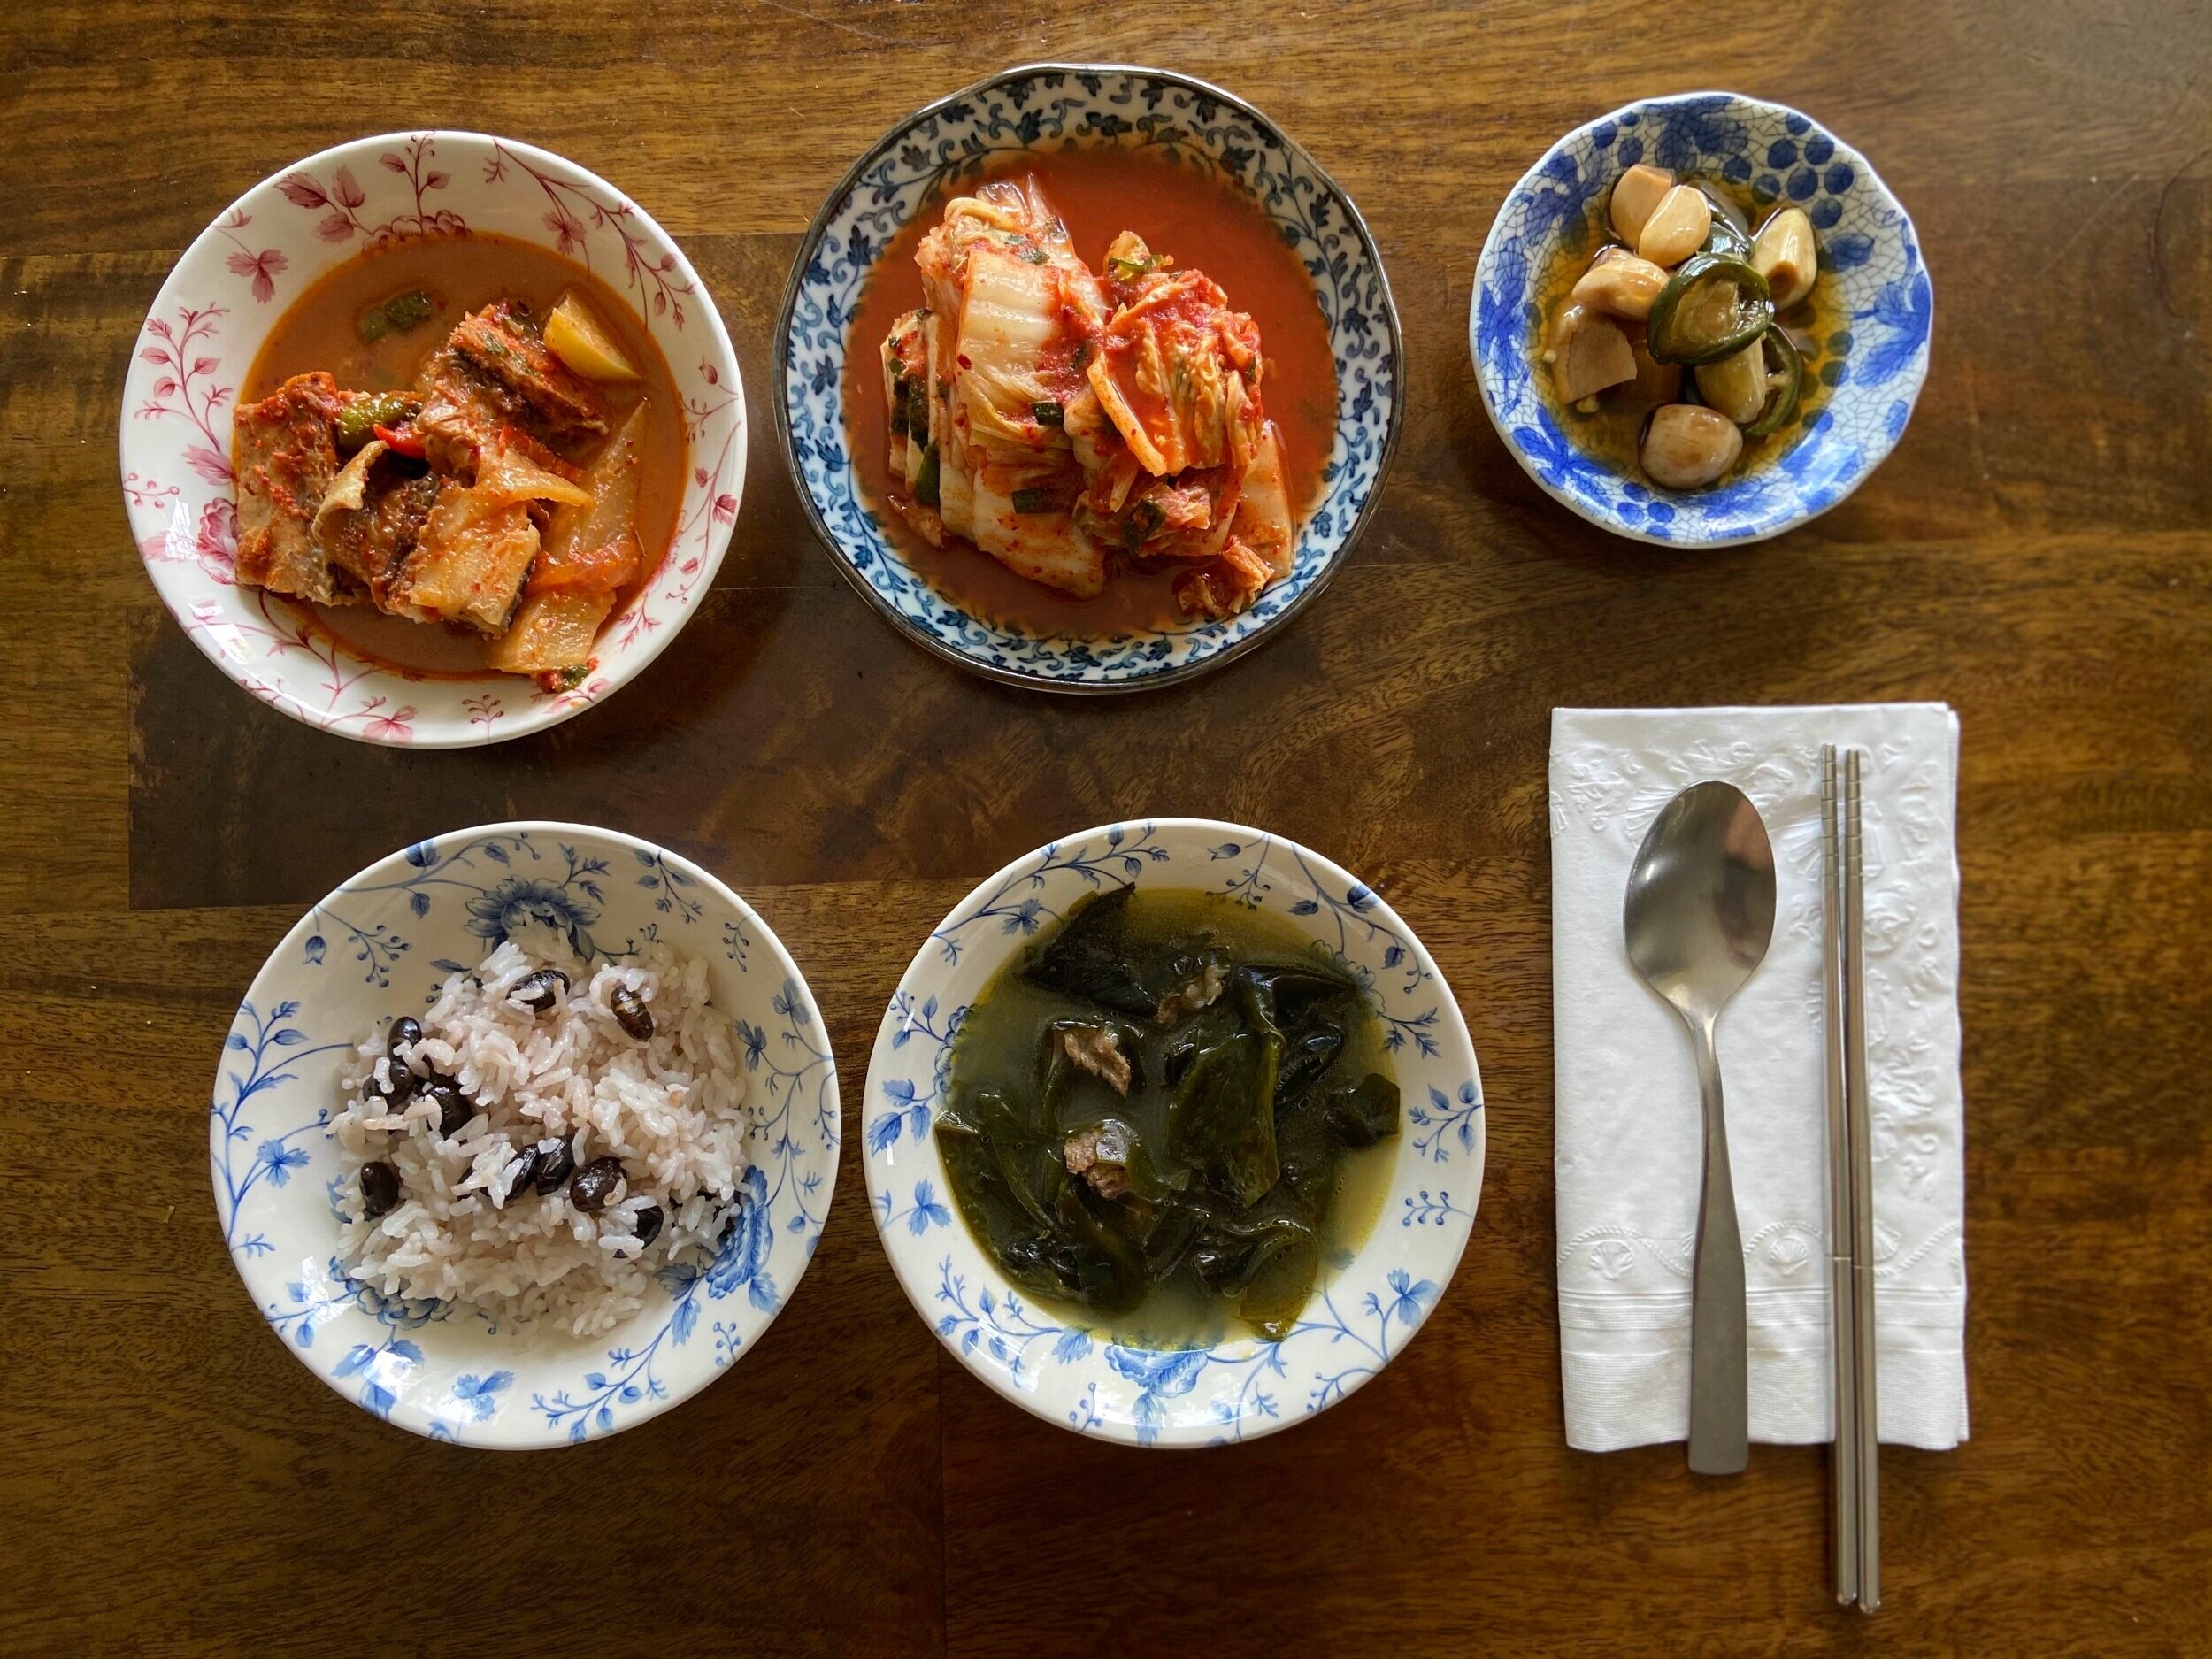
To serve, remove a piece of cabbage from the container and cut crosswise into 3-inch pieces. Place in a dish along with some of the red broth and enjoy as part of Korean meal, or in a variety of other applications.