Totoro Cream Puffs
Author & Photographer: Hsin Min Zee
Last Saturday, Hayao Miyazaki, director and co-founder of Studio Ghibli, turned 78. With this animation giant’s birthday as an excuse, I’m sharing my experience conjuring a favourite creation from one of his hit movies: Totoro, from My Neighbour Totoro.
Even if you haven’t even seen his movie, Totoro might be familiar to you. You will probably have seen this chinchilla-inspired wood spirit in the form of stuffed animals, on stationery, or as toy figurines, all around Asia and in Asian goods stores.
My creation today, directed by a recipe from Bento Monsters, was inspired by the Totoro cream puffs made at Shirohige's Cream Puff Factory in Tokyo. Shirohige’s renditions of the Totoro cream puffs are adorable, and they look just perfect. If you’re going to try making some, remember that Shirohige uses custom-made cast iron moulds to create the perfectly shaped puff, so don’t be hard on yourself if you can’t get yours to look exactly the same.
Disclaimer: This is my first time making cream puffs. As you might notice from some of my pictures, I am in no way an expert in making them. For real advice on how to make cream puffs, refer to the many excellent articles and videos on the web like this one.
Ingredients:
For the pastry
150 ml water
100 ml milk
125g unsalted butter
150g plain flour
4 medium-sized eggs
1 tbsp sugar
A pinch of salt
For the filling
500 ml milk
4 egg yolks
120 g caster sugar
4 tbsp cornstarch
1 tsp butter
1 tsp vanilla extract
Decorations
green food colouring
modelling paste
milk chocolate
white chocolate
Instructions:
Making the decorations
1. For the leaves, colour some modelling paste with green food colouring.
2. Roll the modelling paste into a thin sheet.
3. Using a sharp crafting tool or a small knife, cut out the leaves. Use the blunt edge to create the veins of the leaf.
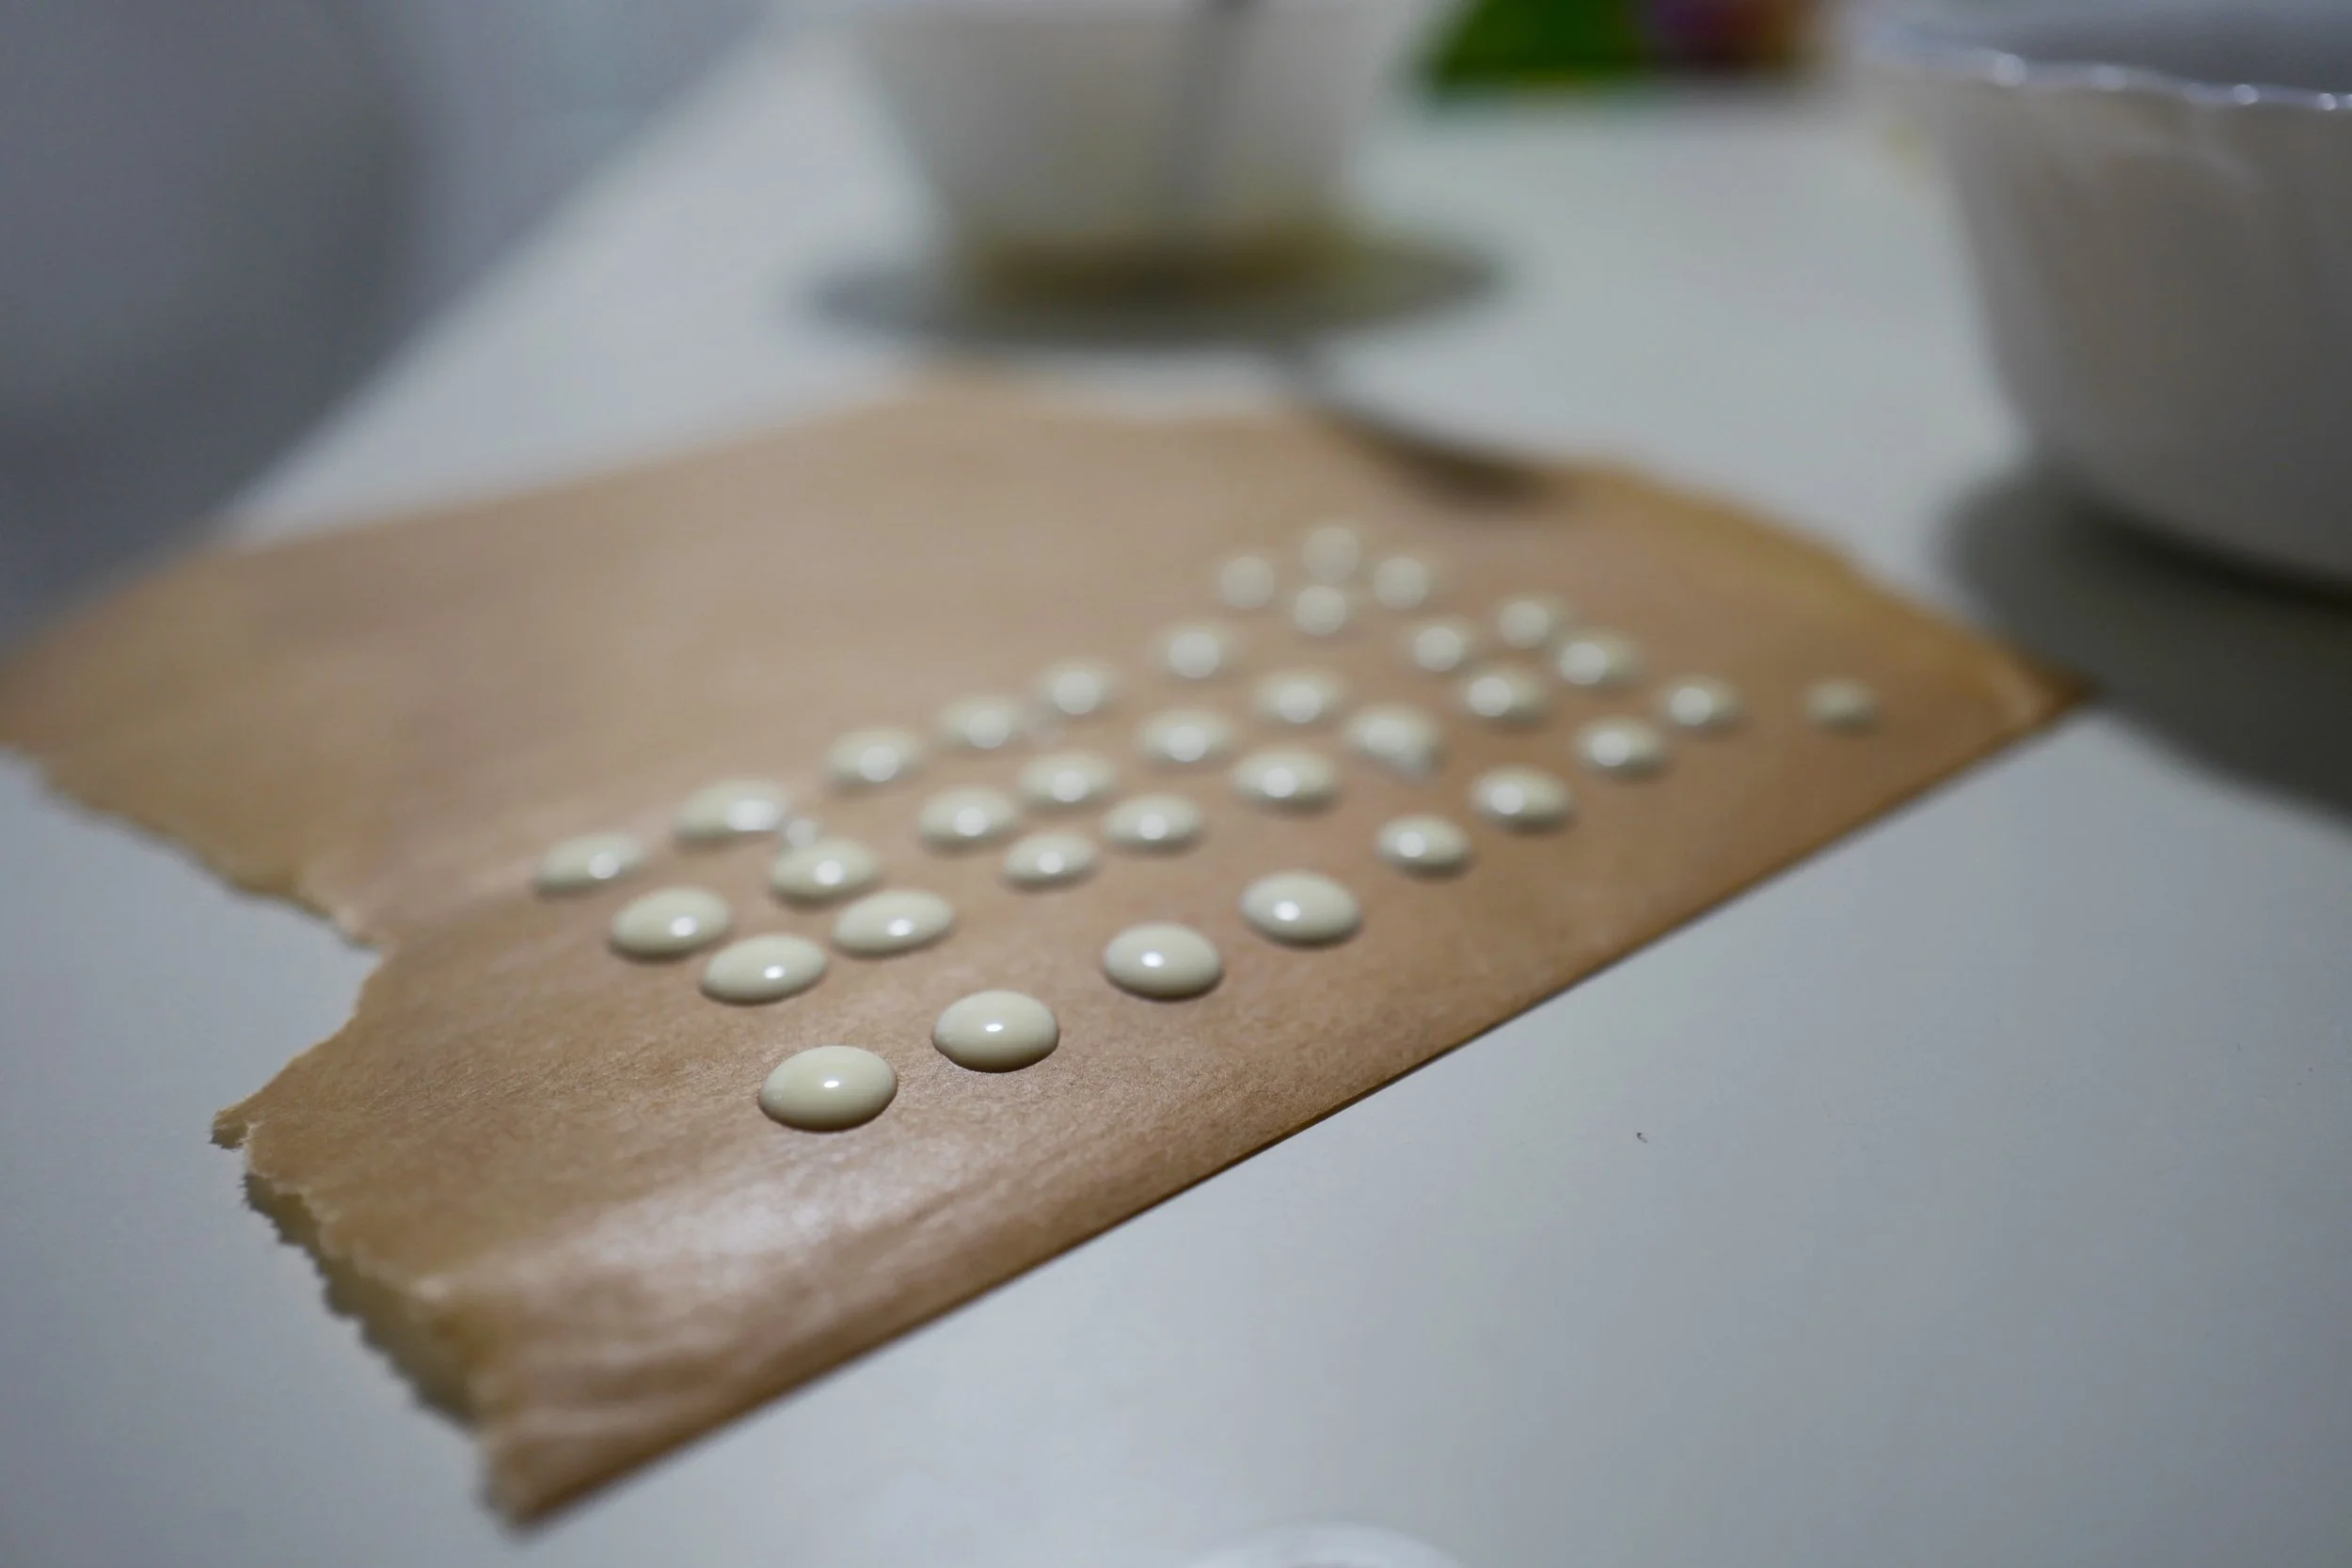
4. For the eyes, melt a bowl of white chocolate.
5. Using a fork or a knife, drip the white chocolate into little circles on baking paper.
6. Leave the sheet in the fridge to harden the chocolate.
7. Once the white chocolate has hardened, melt a bowl of milk chocolate.
8. Using a toothpick, make little dots on to the circles of white chocolate to turn them into eyes.
Note: I found it hard to remove these chocolates from the sheet without misshapping them. I ended up making eyes out of the modelling paste, which I found much easier to handle.
Making the filling
1. In a mixing bowl, add egg yolks, 100ml milk, sugar, cornstarch, and vanilla extract in a bowl.
2. Scald 400ml milk. Add the milk into your mixture bowl. Whisk while you pour. Once incorporated, pour everything back into the saucepan.
3. Whisk mixture over medium-low heat, stirring till it thickens. Remove from heat and whisk in butter.
4. Transfer to a bowl and let it sit till it reaches room temperature. Fill into a piping bag, and refrigerate.
Making the pastry
1. Heat butter, milk, water, sugar and salt in a saucepan on low heat till butter has melted. Once it boils, remove the saucepan from the heat.
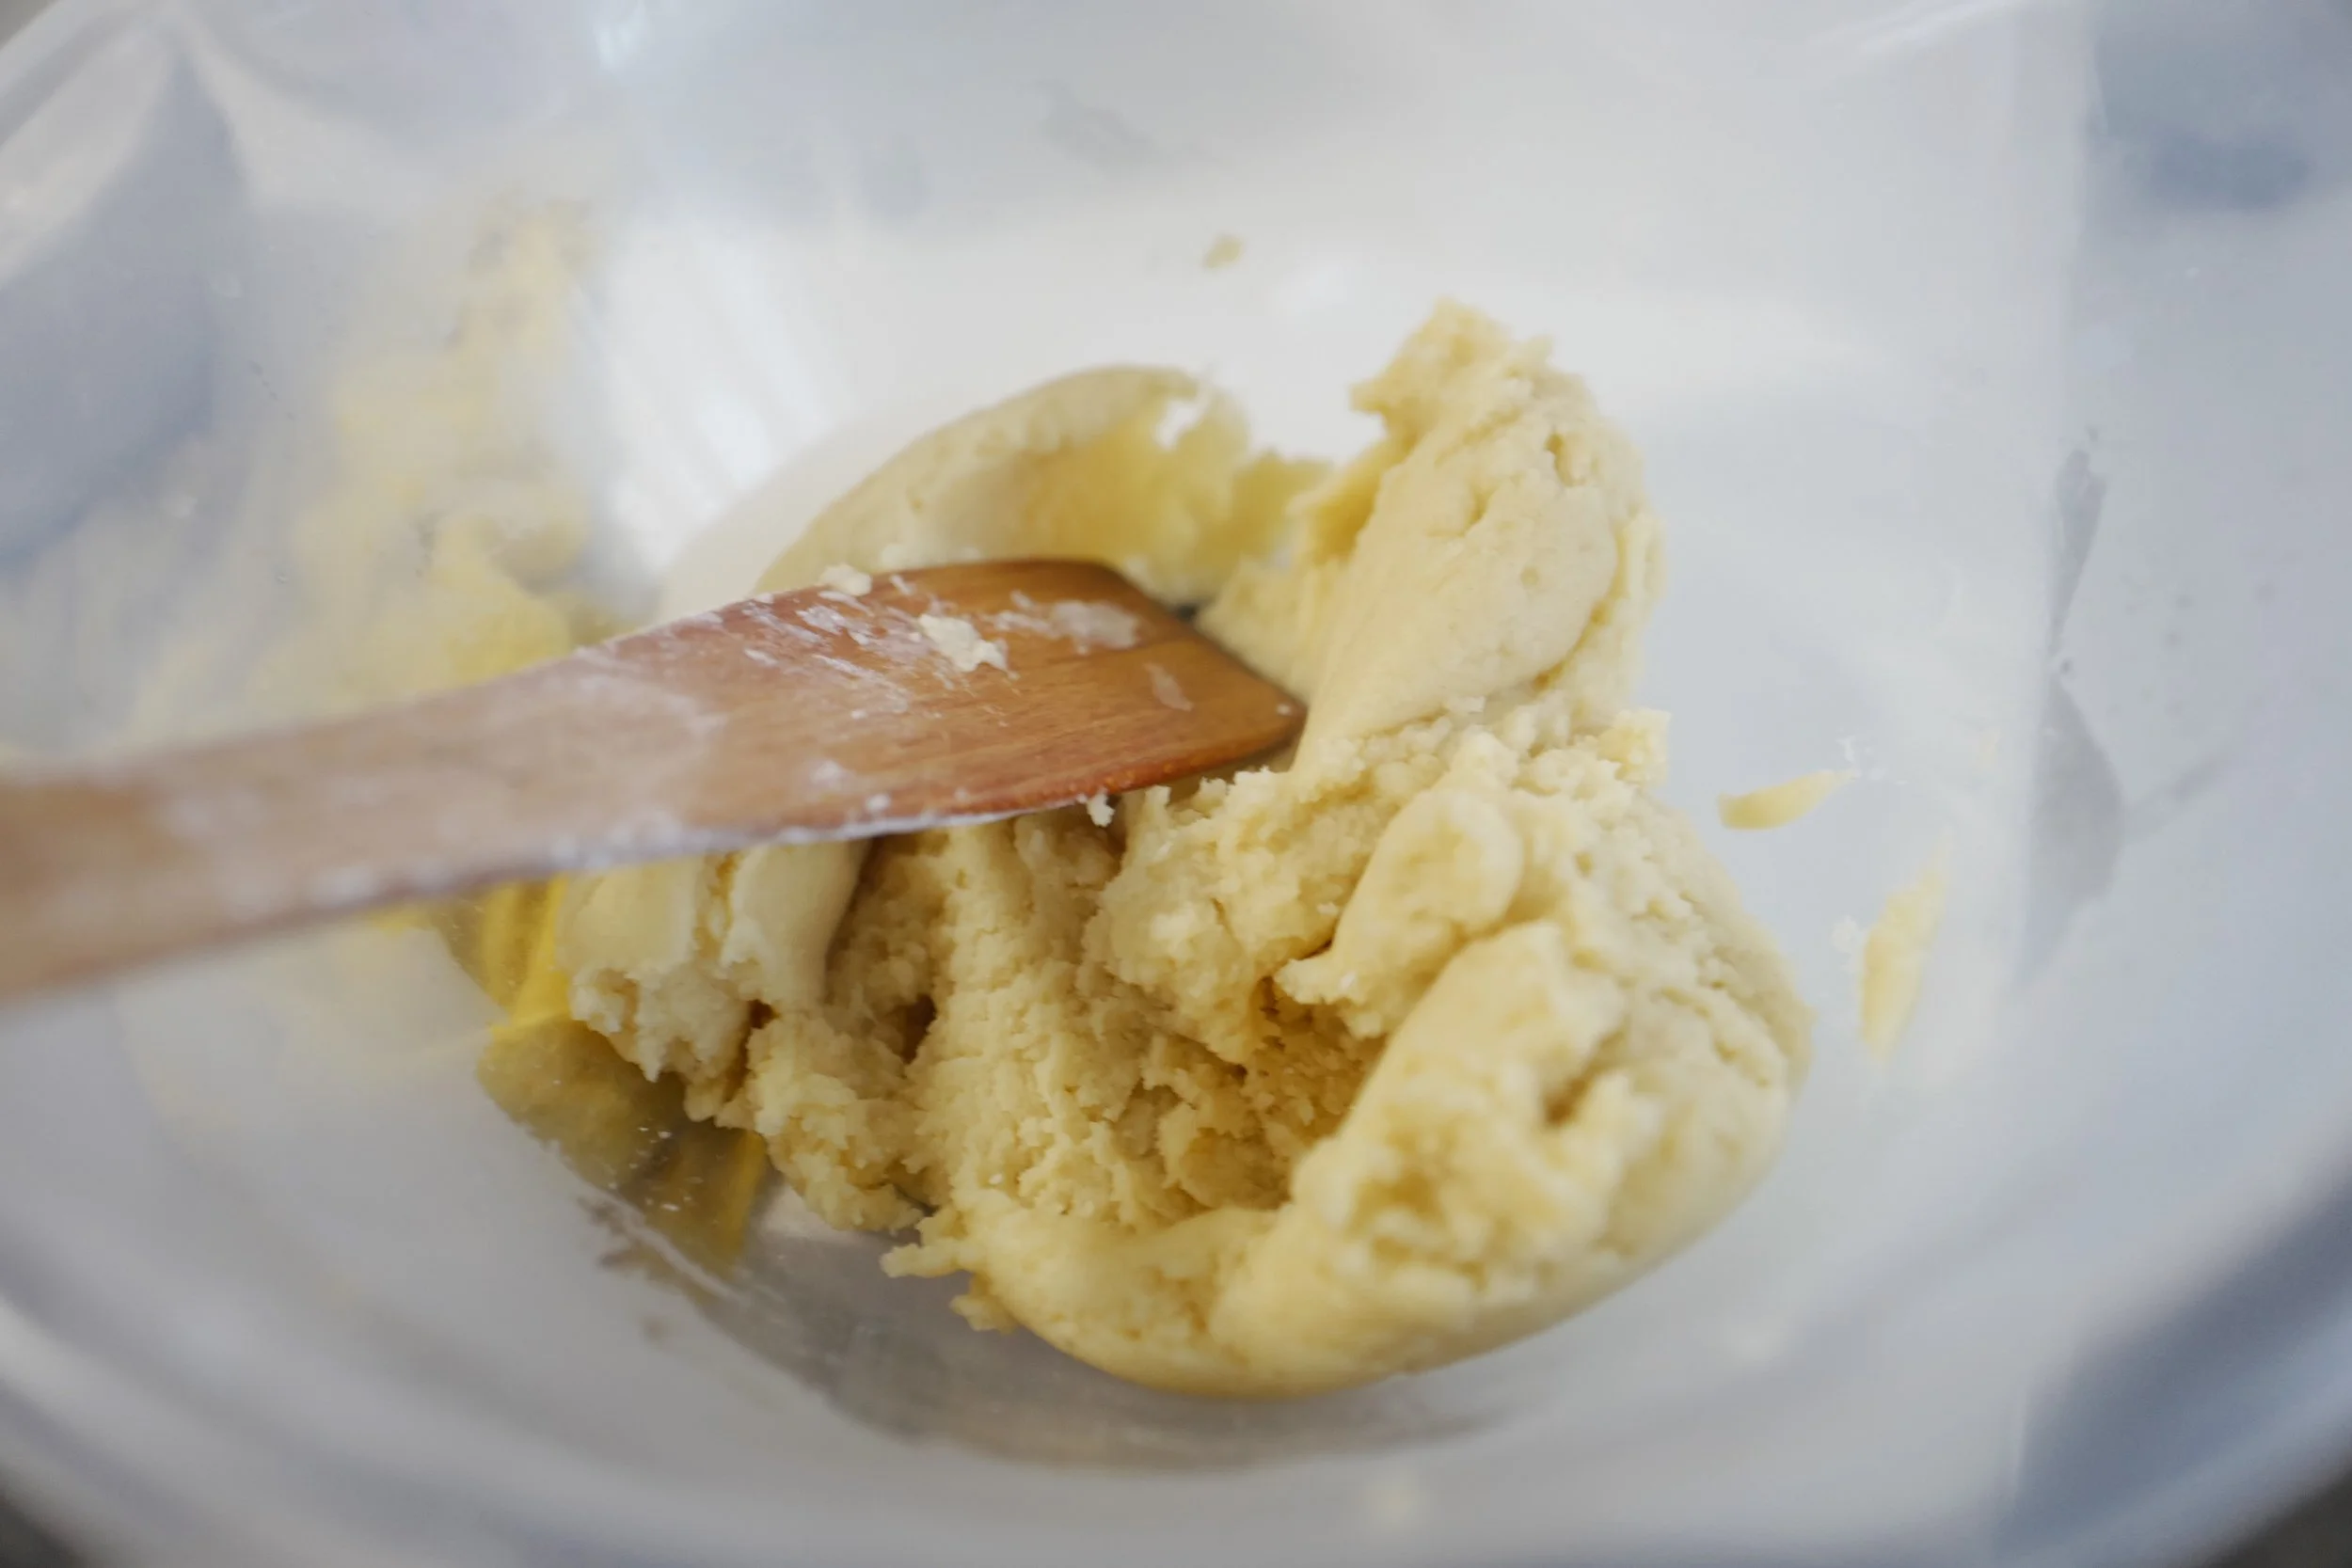
2. Add in sieved flour and mix well. Stir quickly till a dough is formed.
3. Transfer the dough to another container. Use a spatula to mix and cool the mixture.
4. Beat in the eggs one at a time until the mixture is well combined and sticky.
5. Transfer the mixture into a piping bag, snip off the end and pipe out the shape of Totoro on a baking sheet.
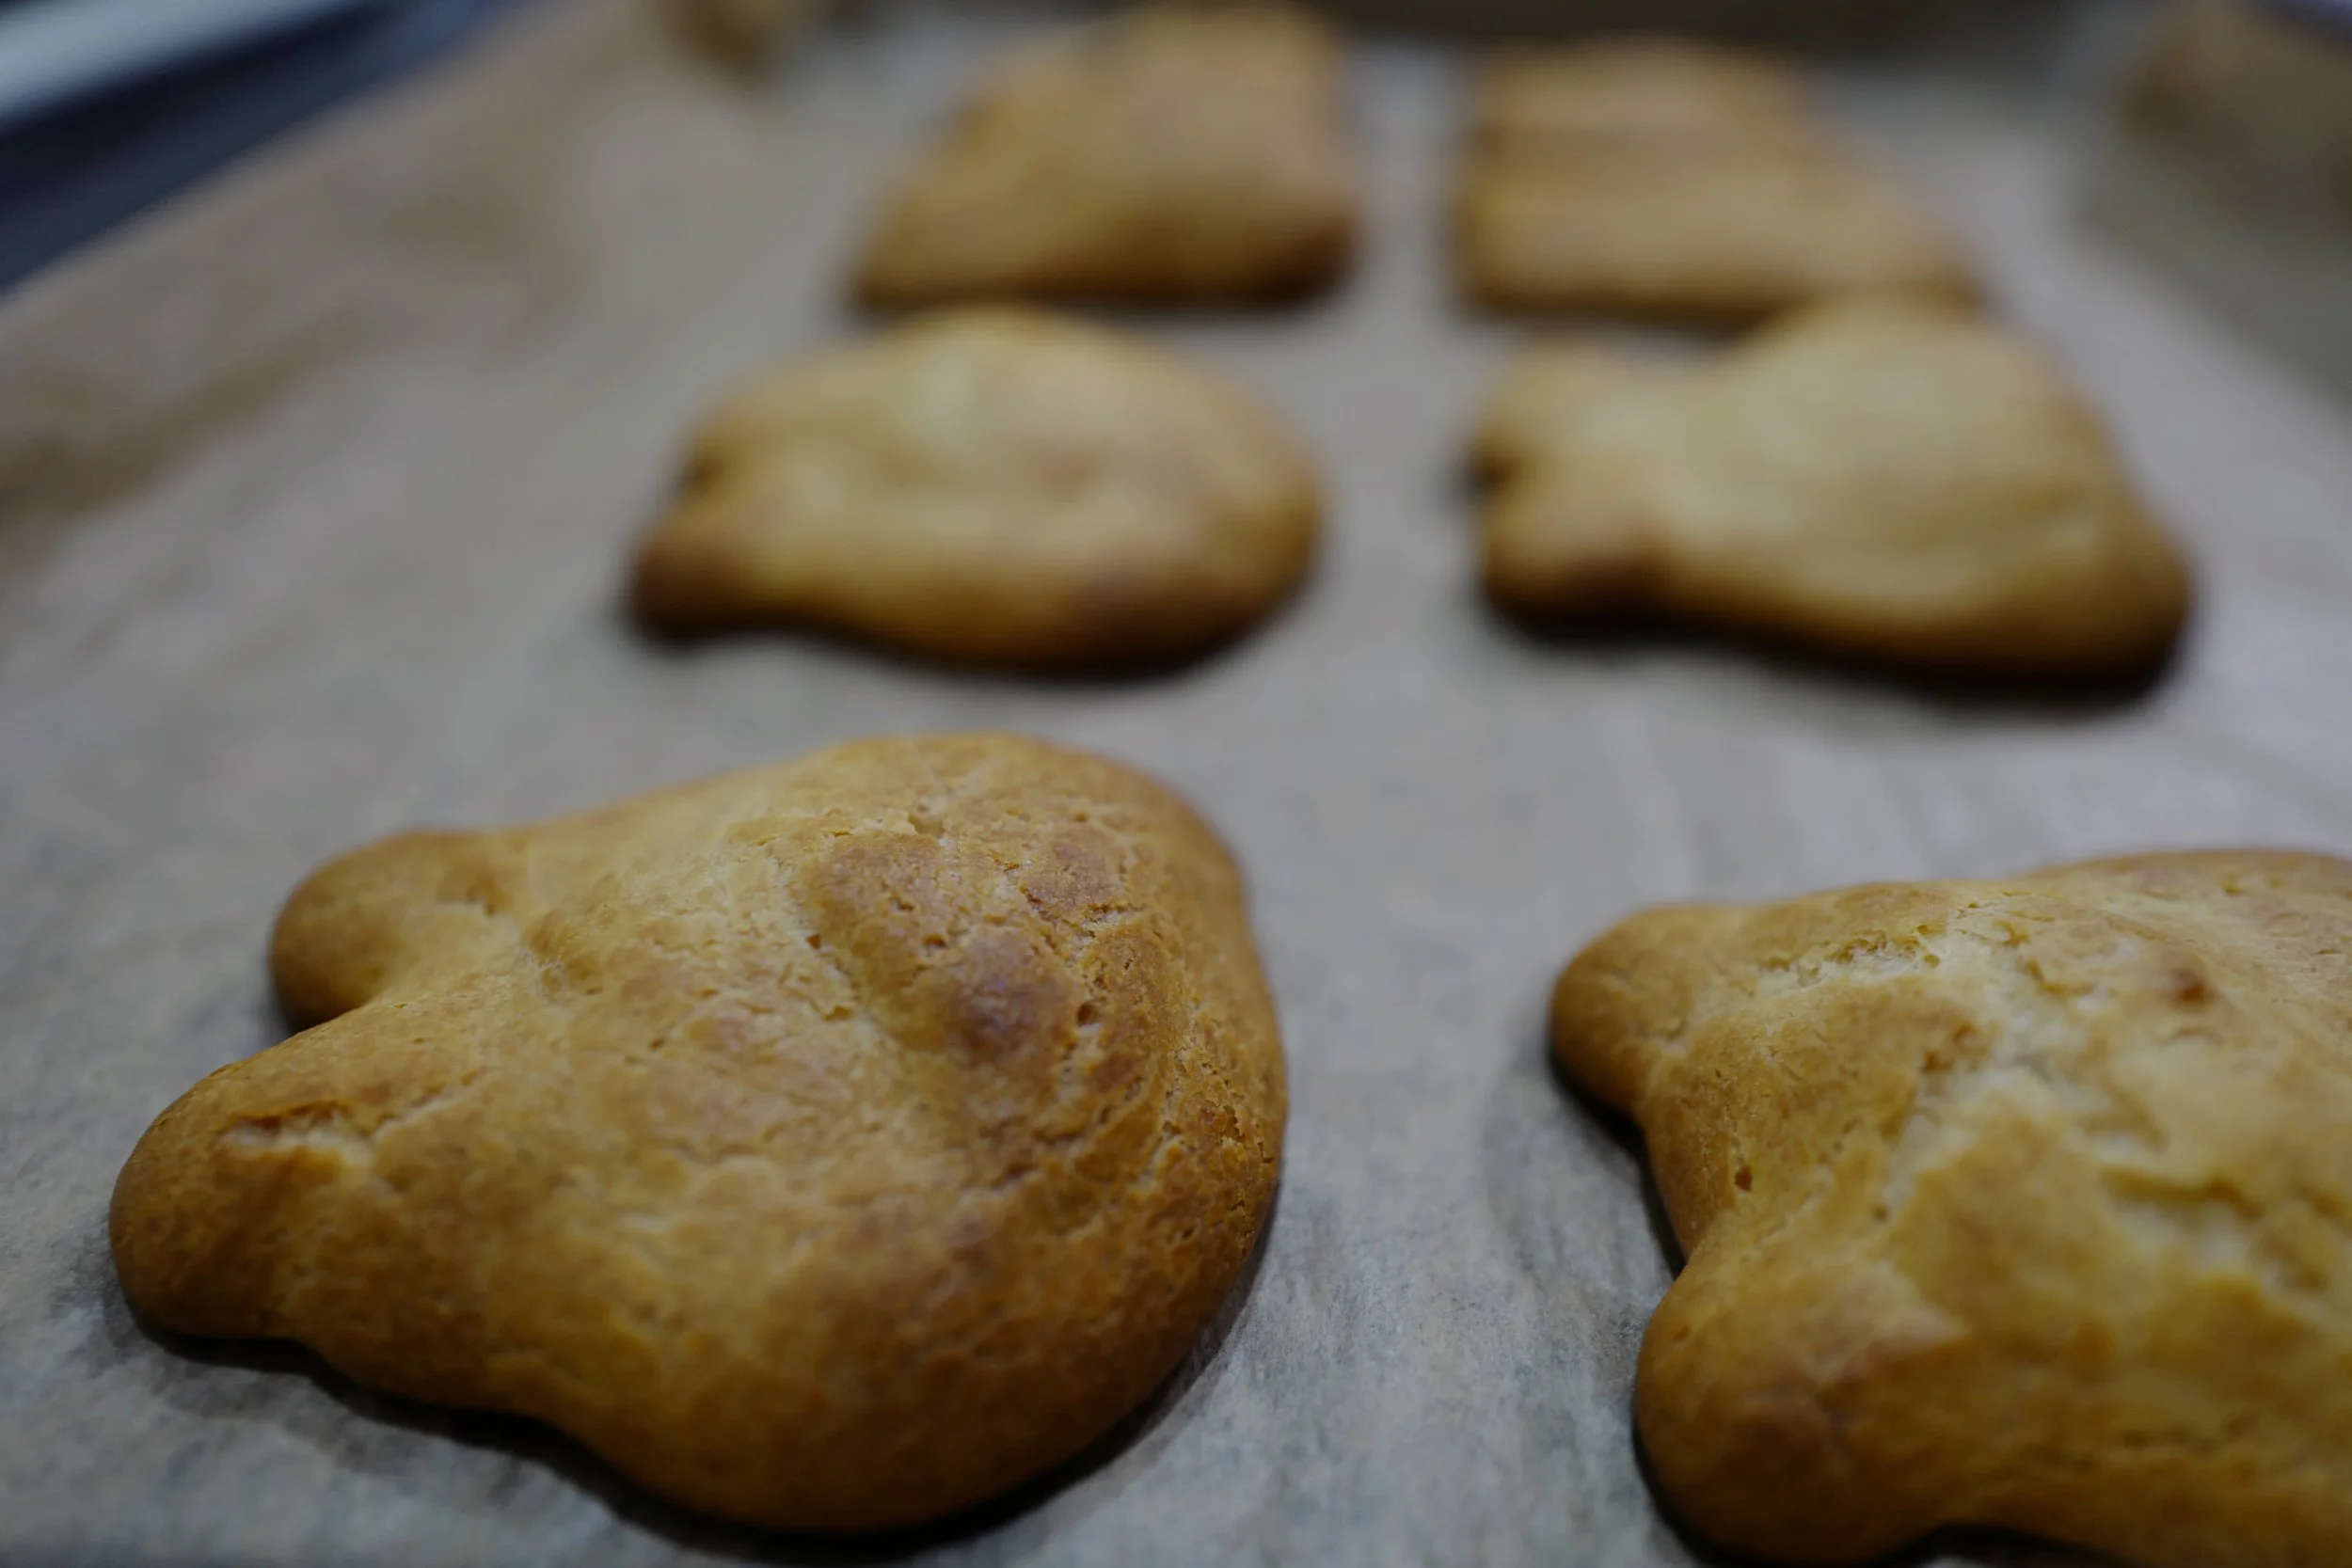
6. Bake at 180C for 15 minutes, or until the puffs have risen to their maximum. Reduce the temperature to 160C for another 25 minutes.
7. Remove from oven and let the puffs cool down. Using a knife, make a hole at the bottom of the puffs and pipe the filling into the puffs.
8. Using melted chocolate as glue, stick the leaves and eyes on the puffs
9. With a toothpick and melted milk chocolate, draw on the noses
I think these came out okay for a first attempt. Unfortunately, likely because my oven isn’t working at its best, the puffs did not all puff up equally. (Tip: Never open the oven or poke holes in the pastries, or else they will not puff up properly at all) But they’re cute as heck. And they were fun to make, and so delicious to eat.


